
Home
Shop
Tools
Empennage
Wings
Fuselage
Panel
Firewall Forward
Canopy
Wiring
Engine
Build Preparation
ECI Engine Build
Fuel Injection Install
P-Mag & E-Mag Install
Hangin' the Engine
Pre-Oiling the Engine
Miscellaneous
Engine
|
Date |
Description of Task | Hours |
| 2/22/08 | Today I placed my order with Jesse at
A.E.R.O., Inc. for my engine.
I ordered an ECI O-360-B1J2N with 7.2:1 low compression pistons.
The lower compression pistons will allow the engine to run on 89
octane fuel (regular unleaded). Delivery will be in about
8 weeks. I also ordered the remaining components for the
Airflow Performance fuel injection
engine. According to ECI, the
manufacturer of this engine kit, the engine is rated at 175
horsepower. Craig Catto of
Catto Props, who
is building my prop, tells me that with the dual electronic
ignition (P-Mag/E-Mag) the engine should produce a solid 180 hp.
Craig is pitching my prop for maximum cruise and at 2700 rpm top
speed is calculated to be 205mph. Not bad. |
|
| 2/27/08 | Today I received my engine stand from
Aircraft Tool Supply Company.
Some assembly required.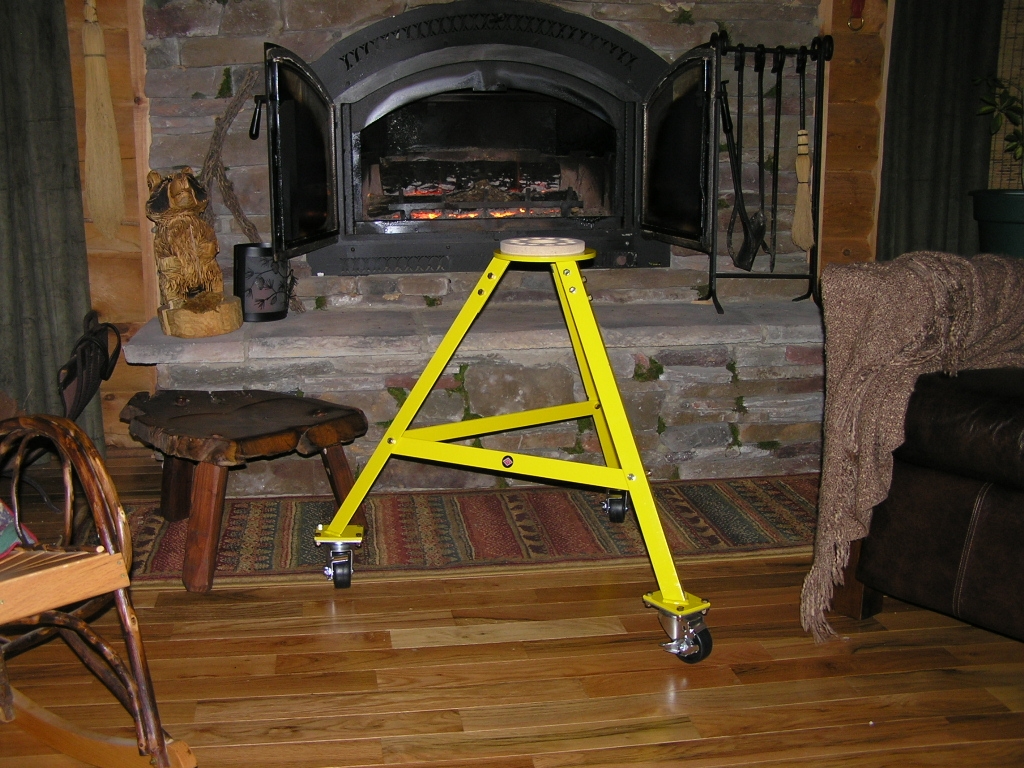
I also received my "high-priced" propeller shaft oil seal
install tool. Don't ask me what it's for but my
A&P/Co-engine builder, Terry, tells
me we need one. |
.5 |
| 3/21/08 | I got a box from A.E.R.O.
which contained a bag of hardware, some oil filters, a fuel pump
and three rattle cans of "Lycoming Gray" engine paint. It
also had a Technical Manual and a Parts Manual.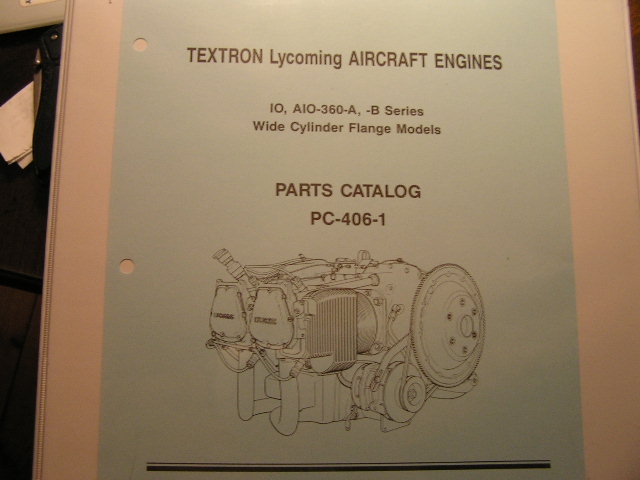
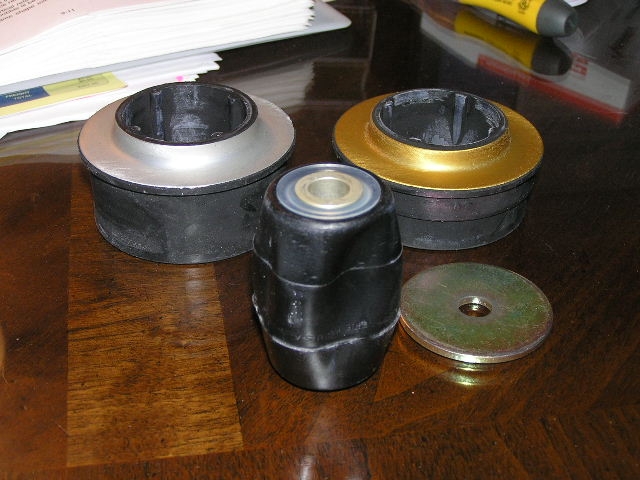
I also got my LORD engine mounts.
For my engine and aircraft I needed the
J-9613-40 mounts. These puppies aren't cheap
but they are the best mounts made. |
|
| 3/28/08 | I received my Airflow
Performance Fuel Injection system yesterday so I took
some time to inventory the parts. I am amazed at the
quality if the machining of the servo and assorted parts.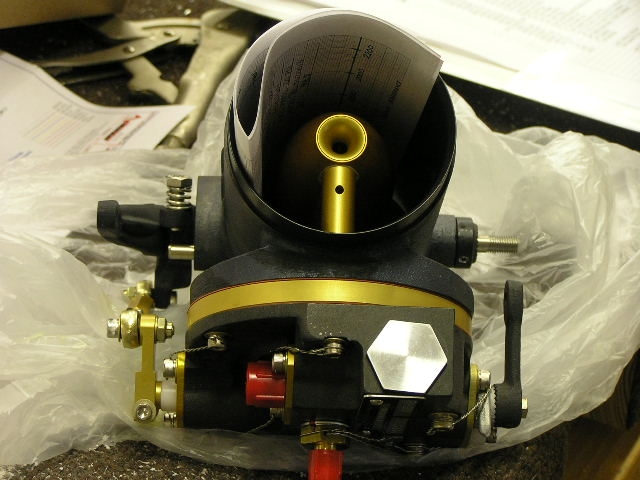 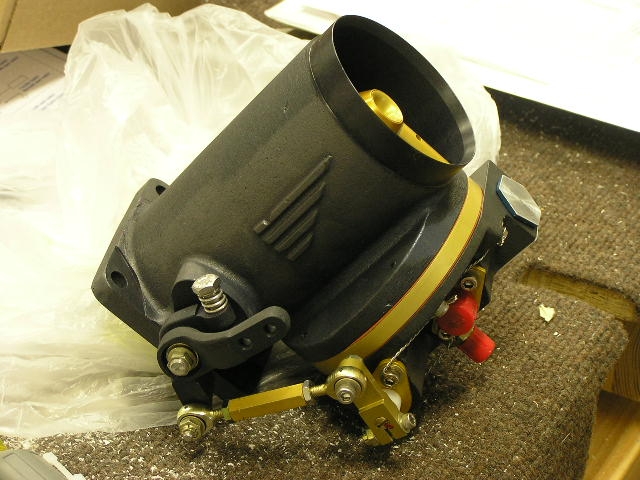 |
.5 |
| 6/18/08 | Engine Arrives!
This evening I went over and picked up my ECI engine components
from Jim Olson, who has been holding it until we got back from
vacation. |
|
| 6/19/08 | Inventoried the engine parts.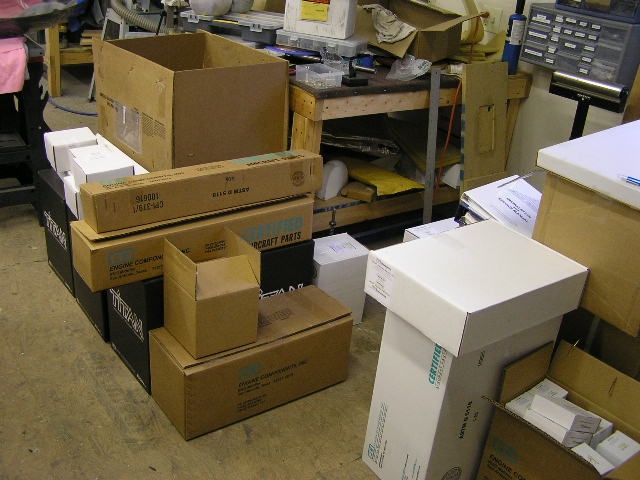
Terry and I have set aside July 11-12 for the engine build.
|
1.0 |
| 7/8/08 | Set up and ready to go.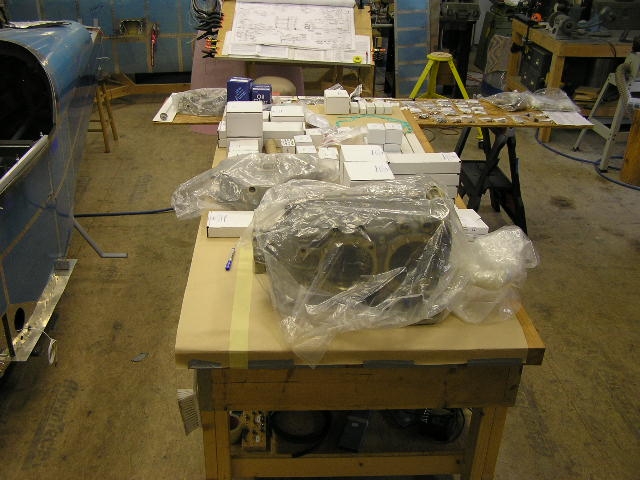 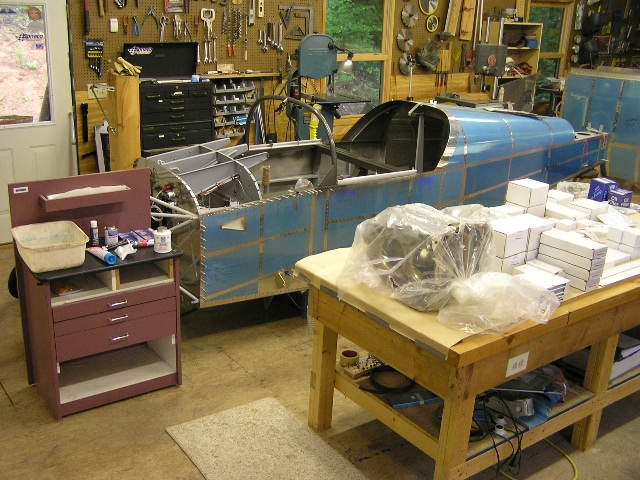  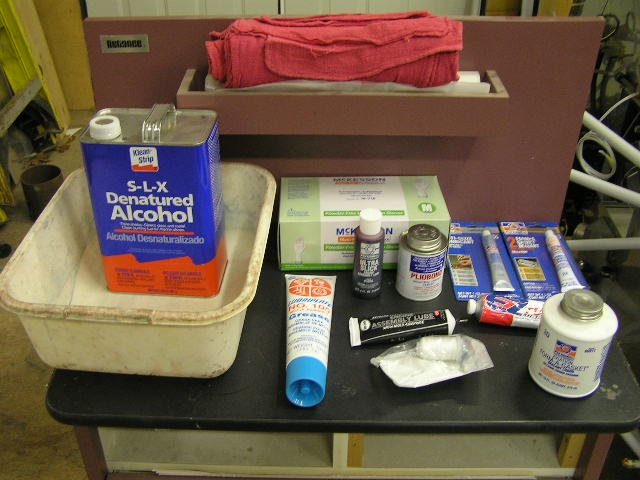 |
|
|
ECI Engine Build |
||
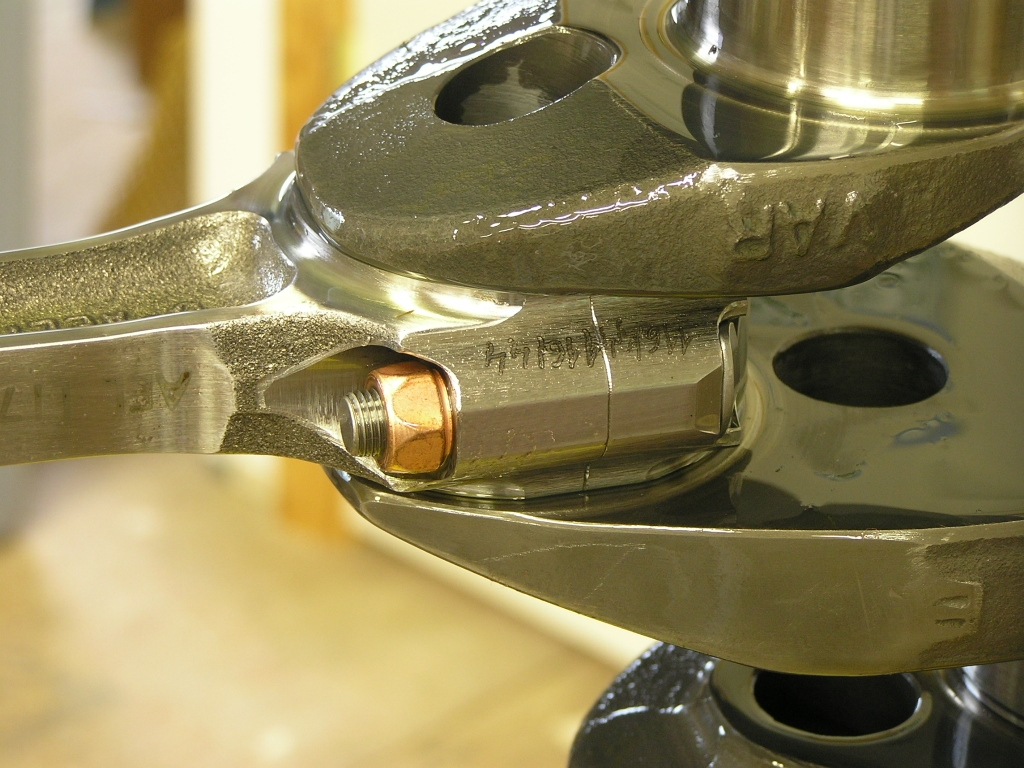
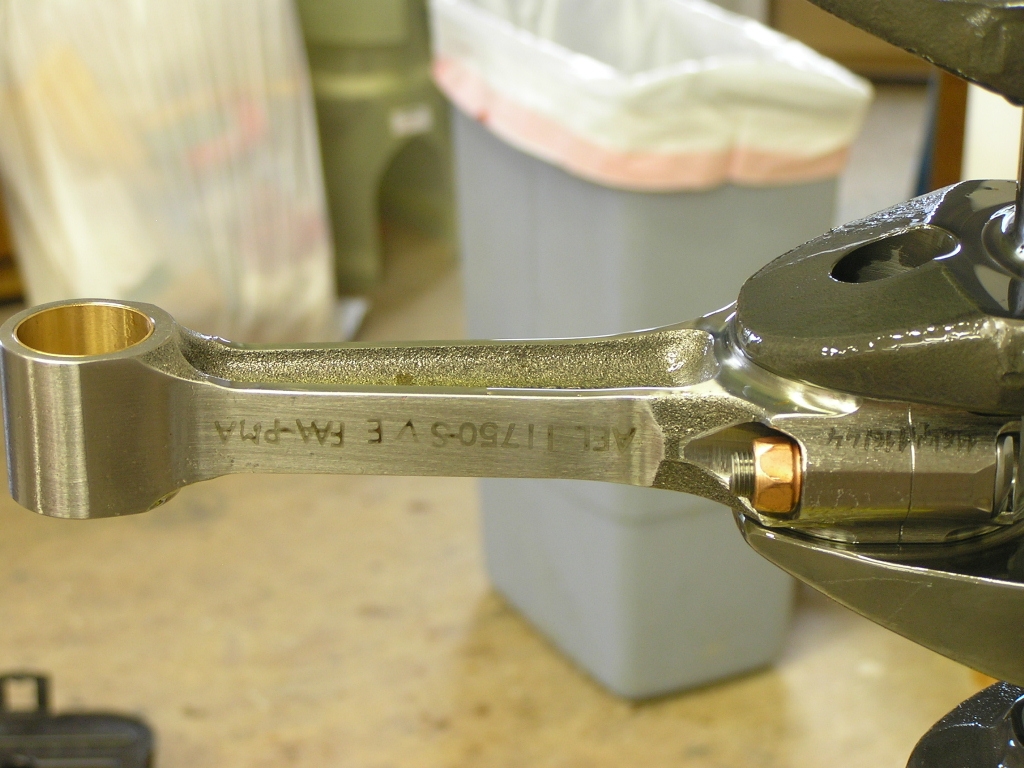
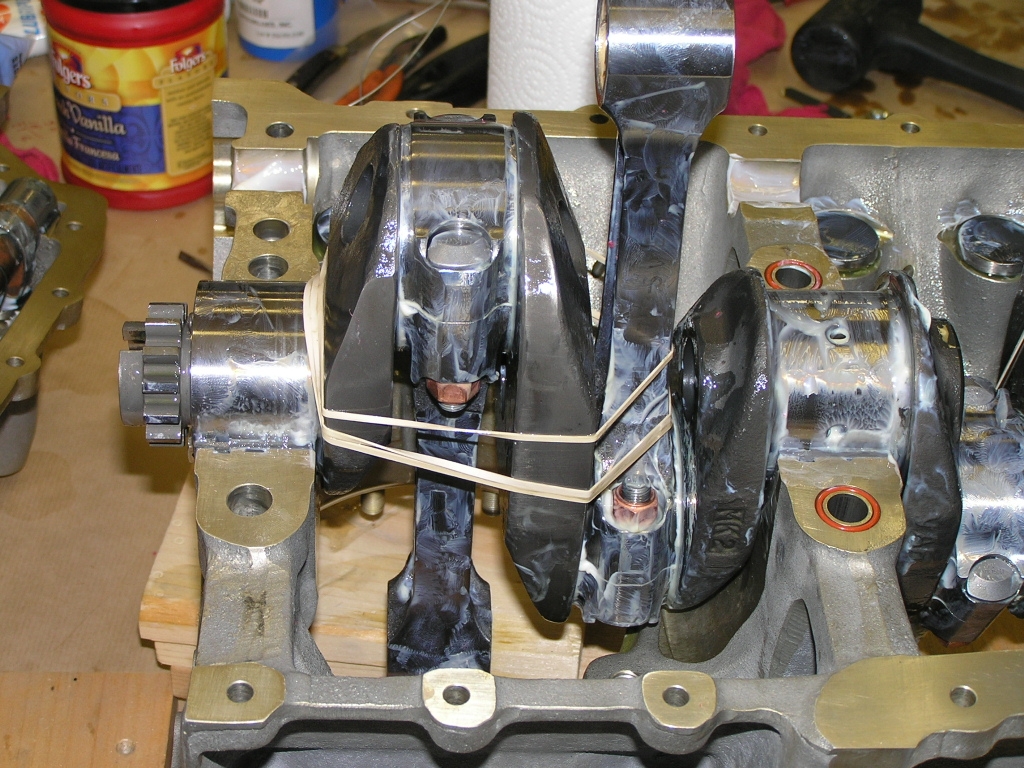
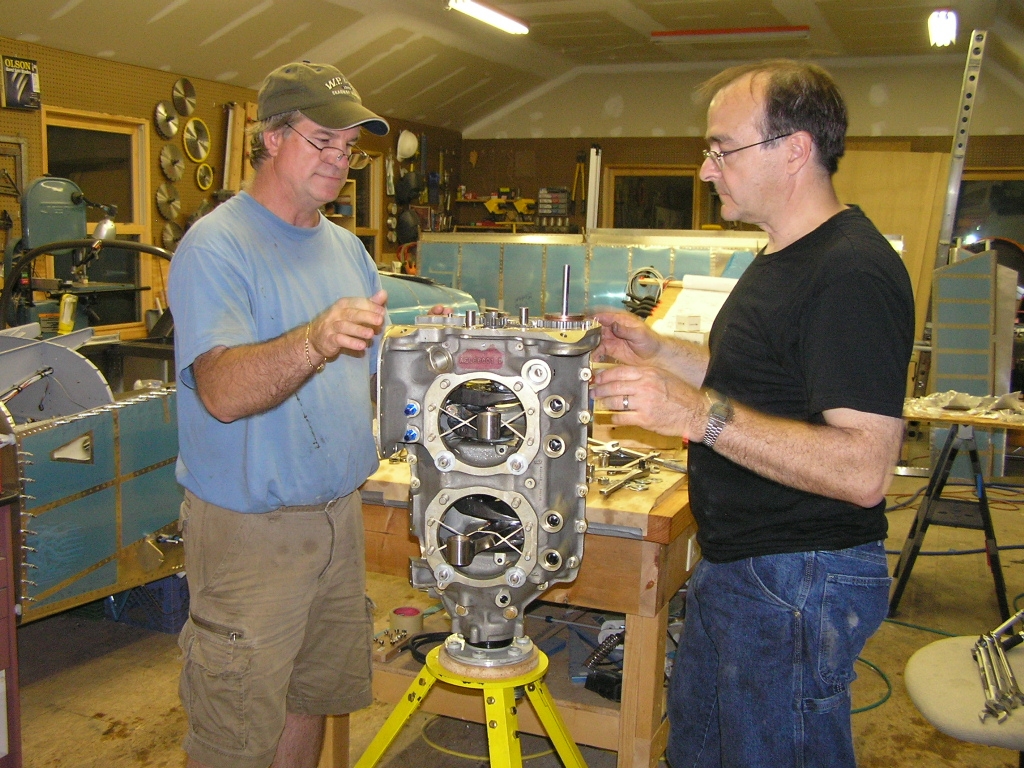
| 7/10/08 | This evening Terry and I got an early start.
We began by assembling the crank.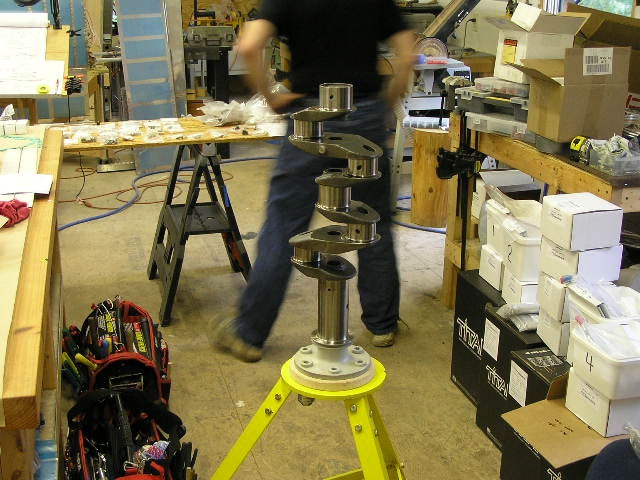 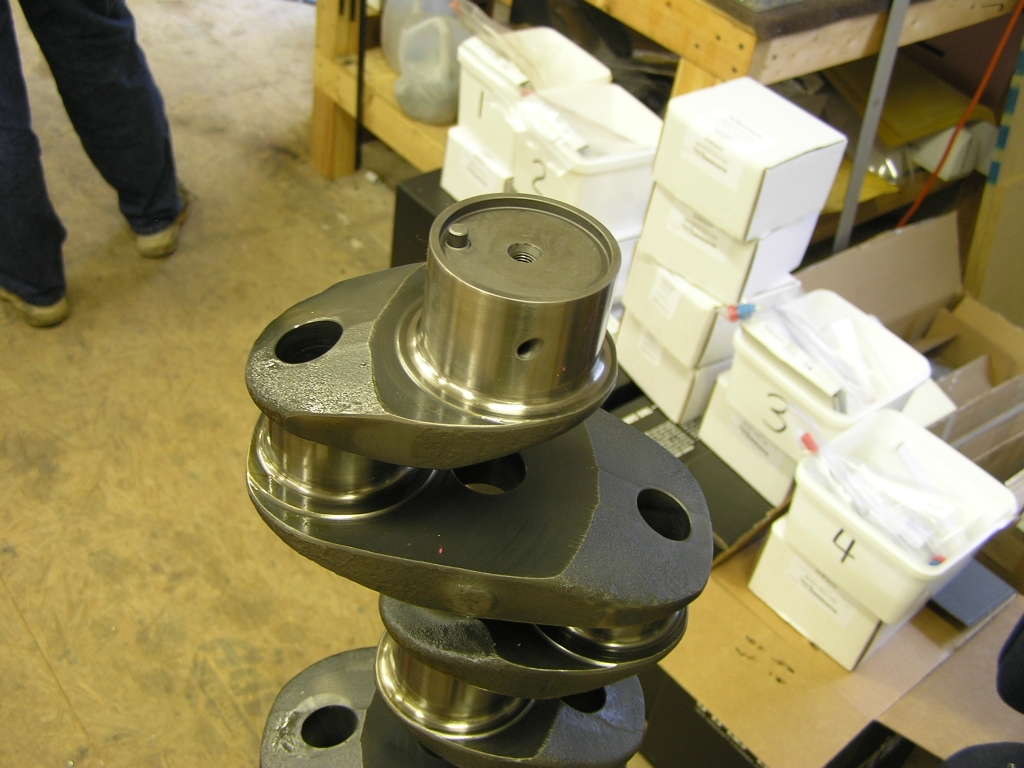 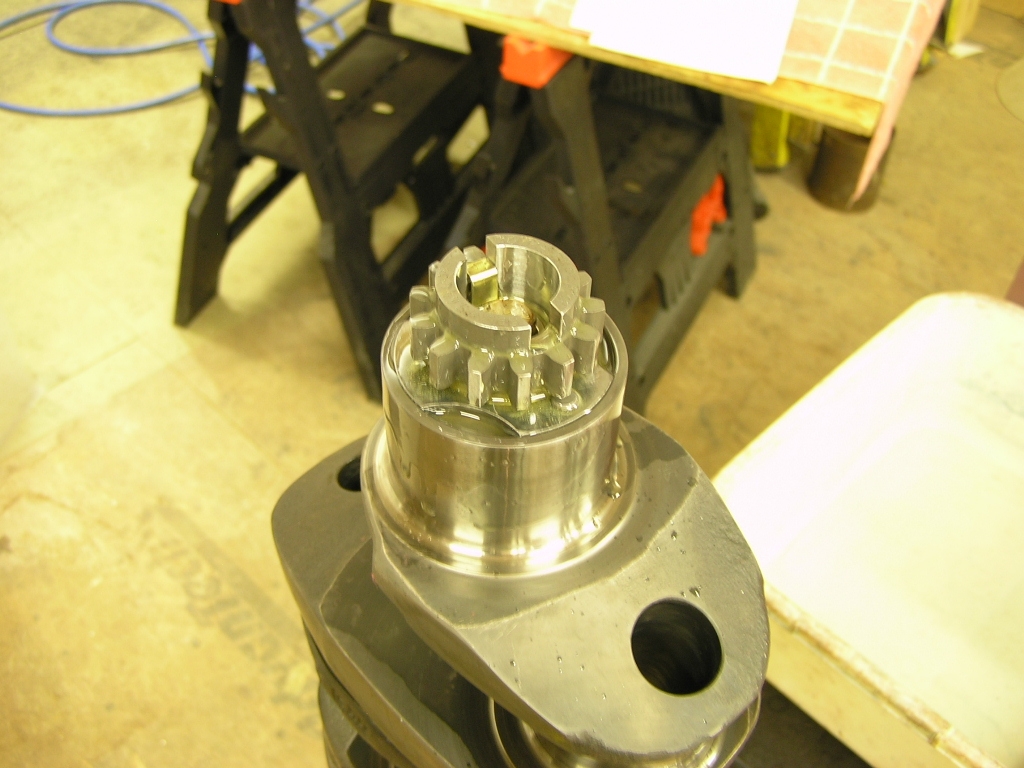
Next we installed the connecting rods. Here you see we
installed the nuts on backwards... After clarifying with ECI we
corrected. |
3.0 |
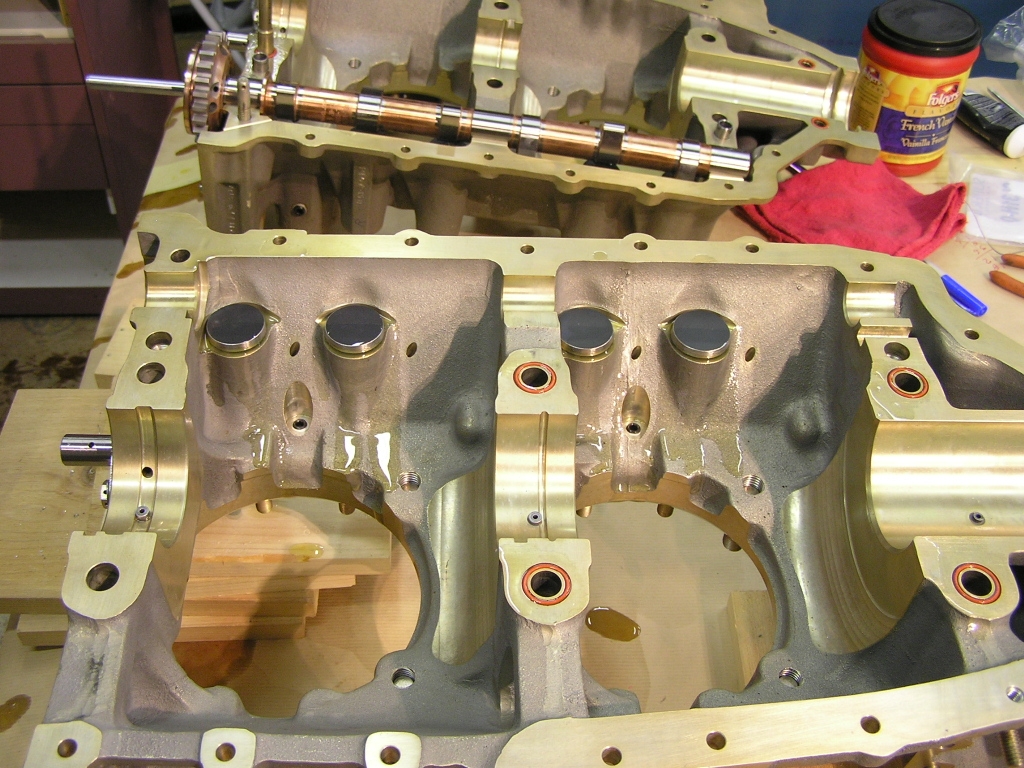
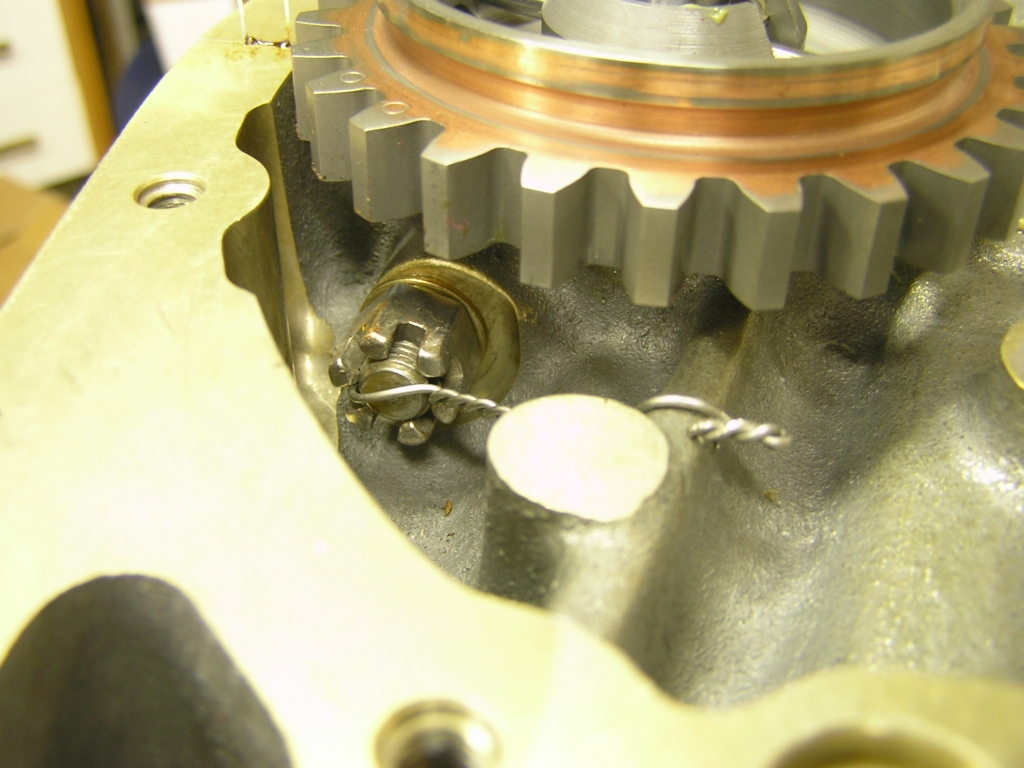
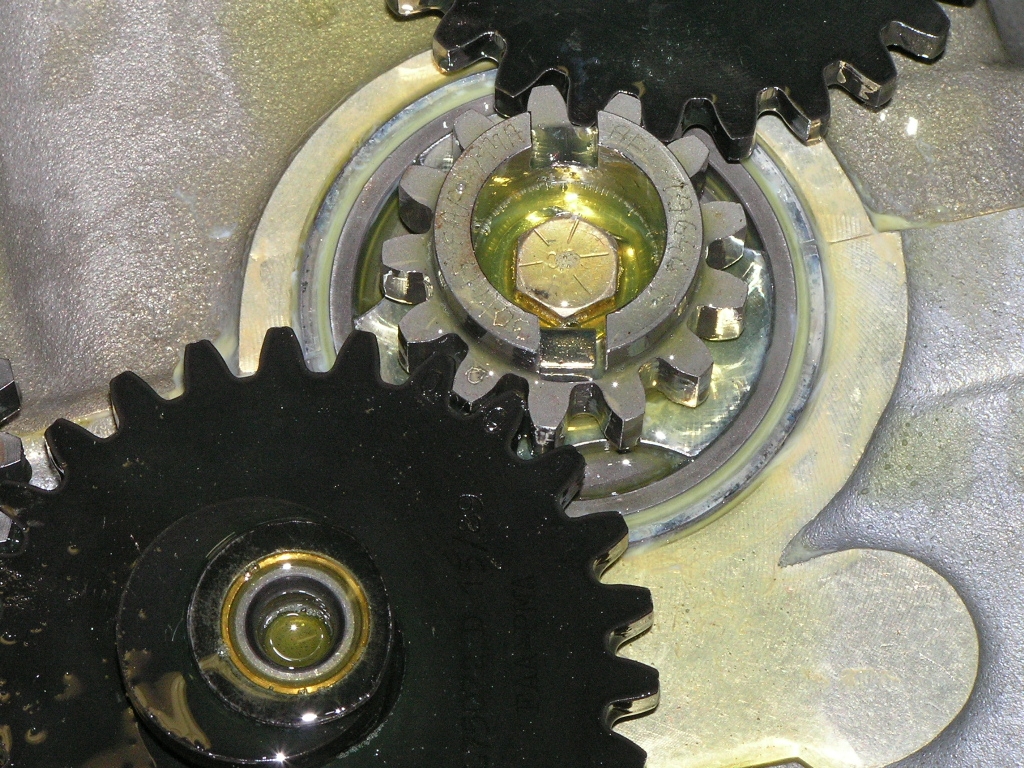
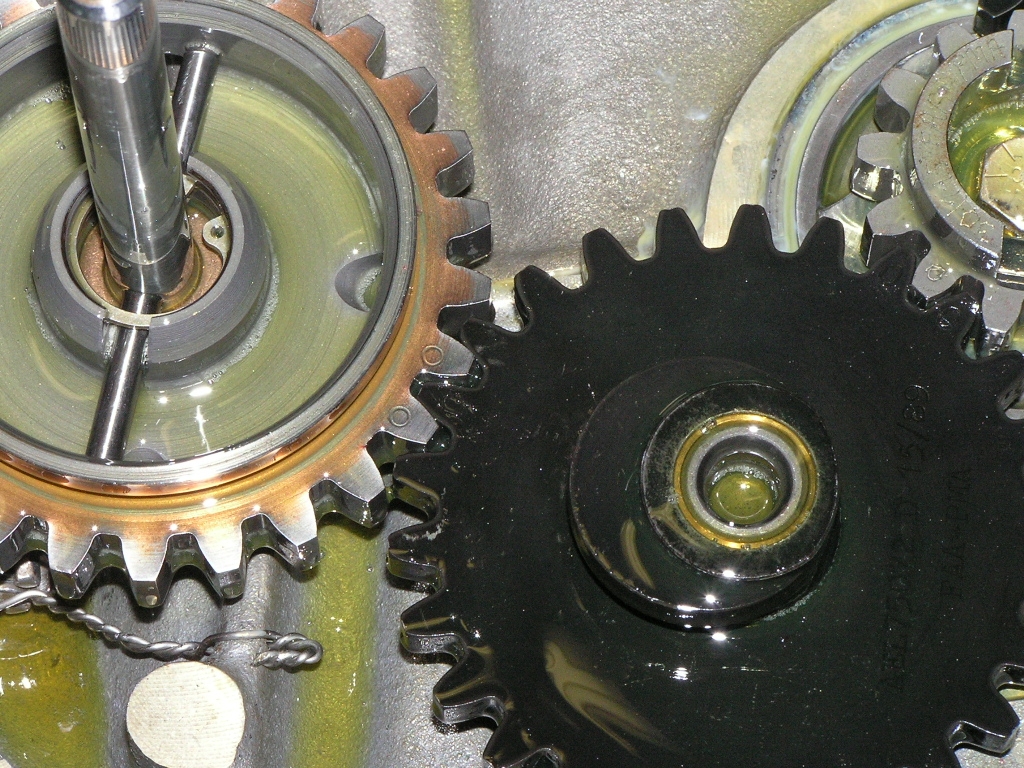
| 7/11/08 | Next we installed the idler gear shaft as well
as the timing gear shaft and safetied both.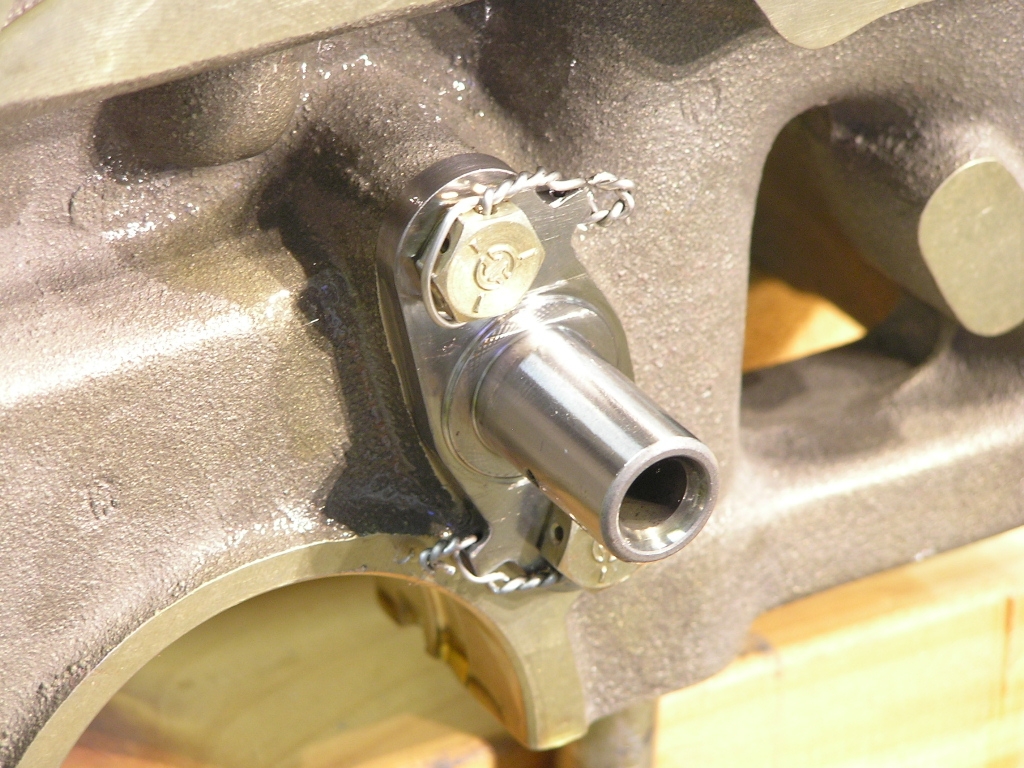 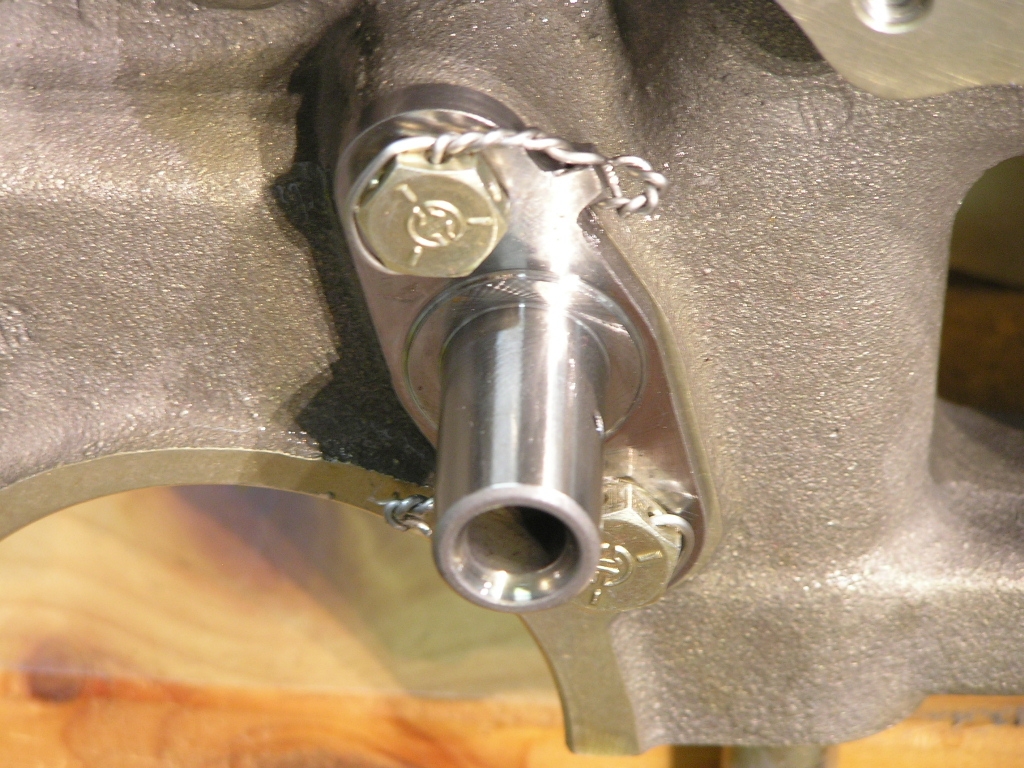 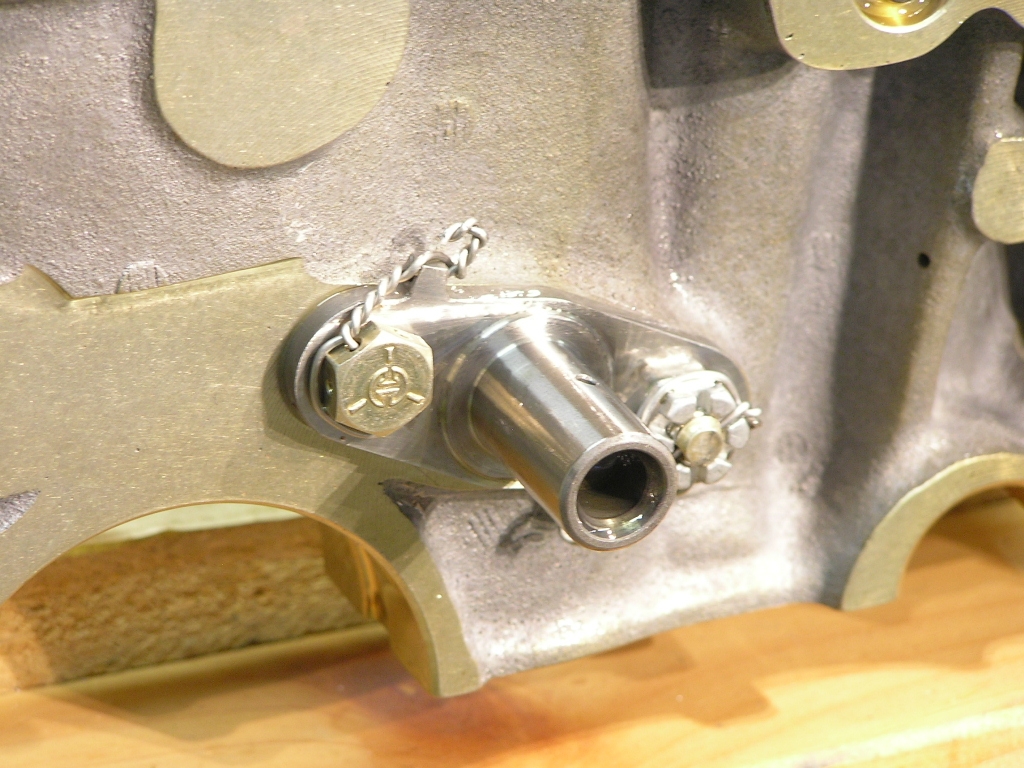 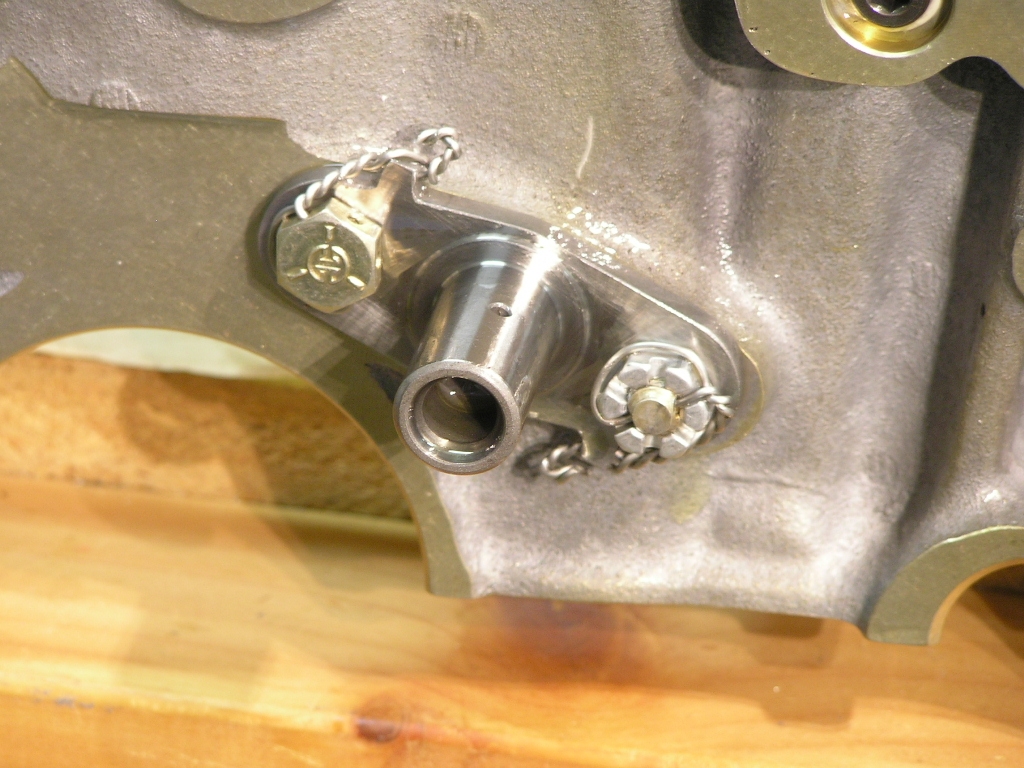
Then we test fitted the main bearing and marked. Here are the two case halves we cleaned and prepped for
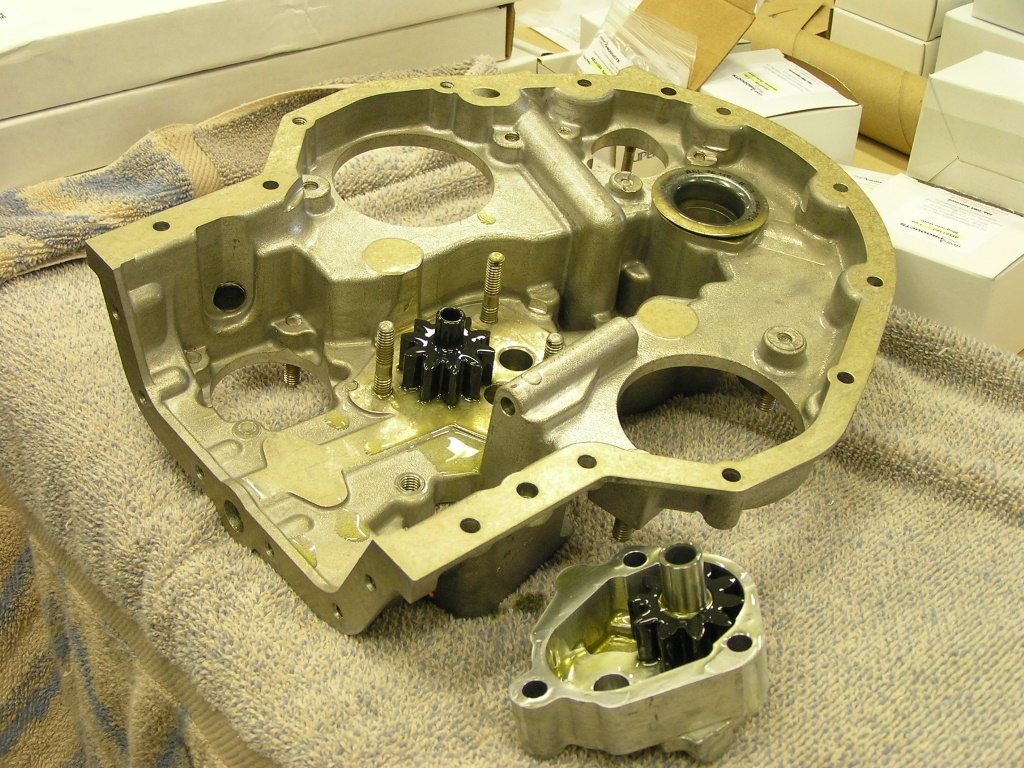
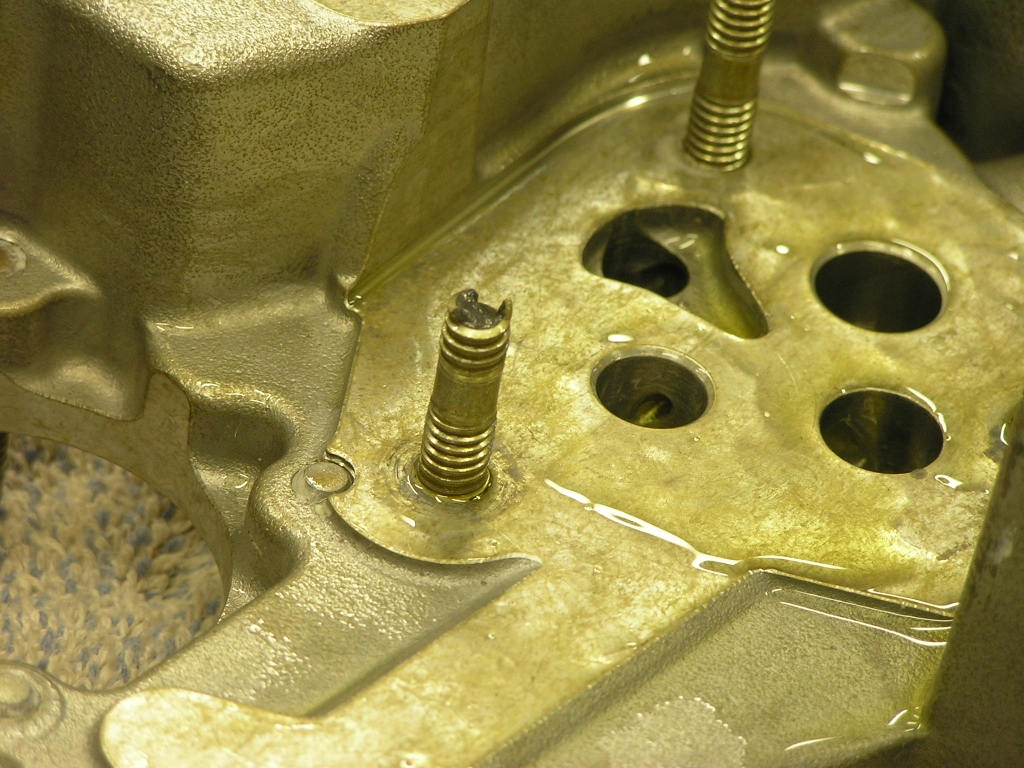
camshaft installation. And after installing the tappets and the camshaft. We then moved to installing the oil pump in the accessory
case but had to stop after stripping a stud. The ECI
Hardware manual had the wrong torque value (204 in/lbs) whereas
the Lycoming value is 150 in/lbs... ECI is shipping me a new
accessory case and will be correcting the incorrect torque value
in their manual.
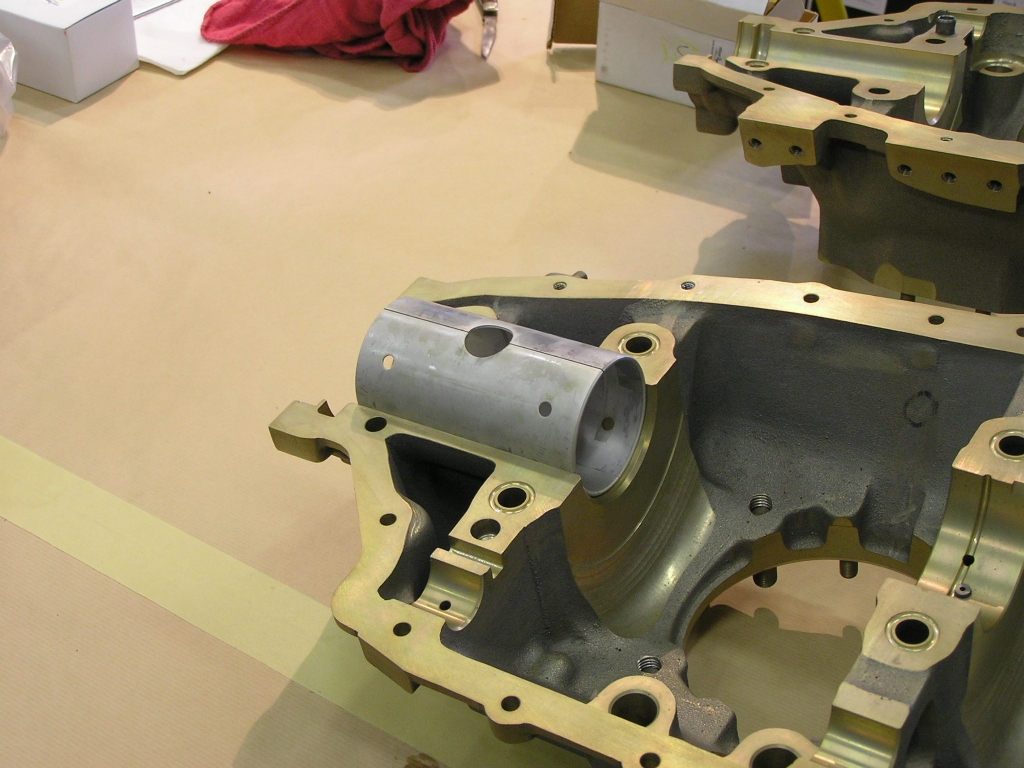
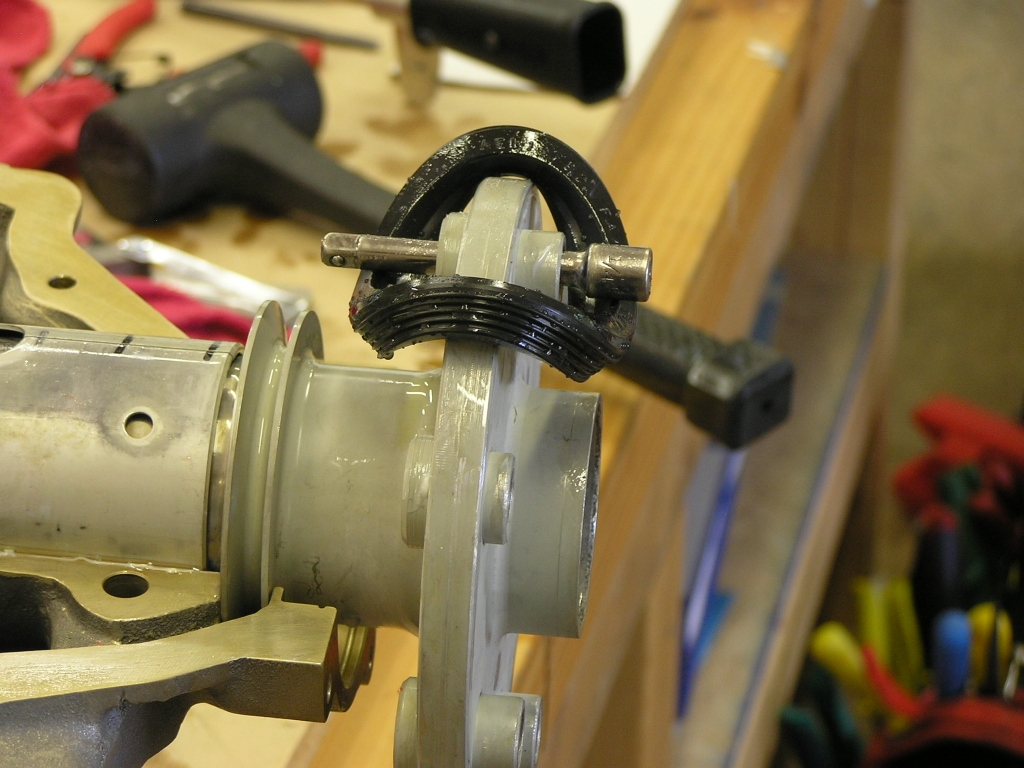
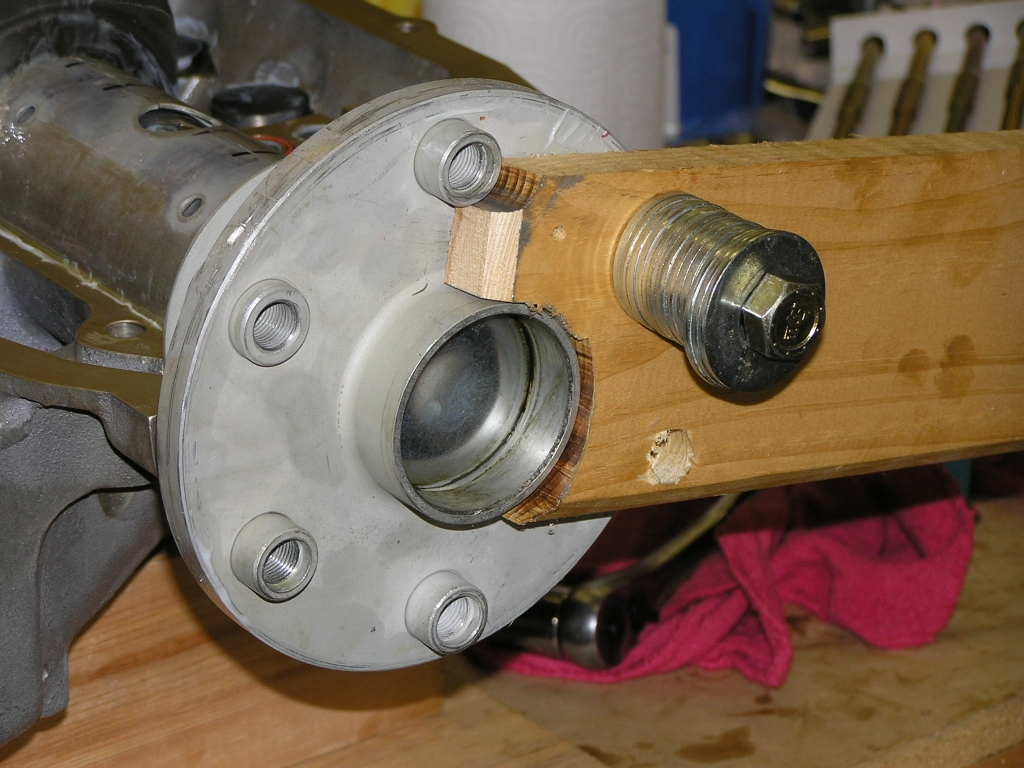
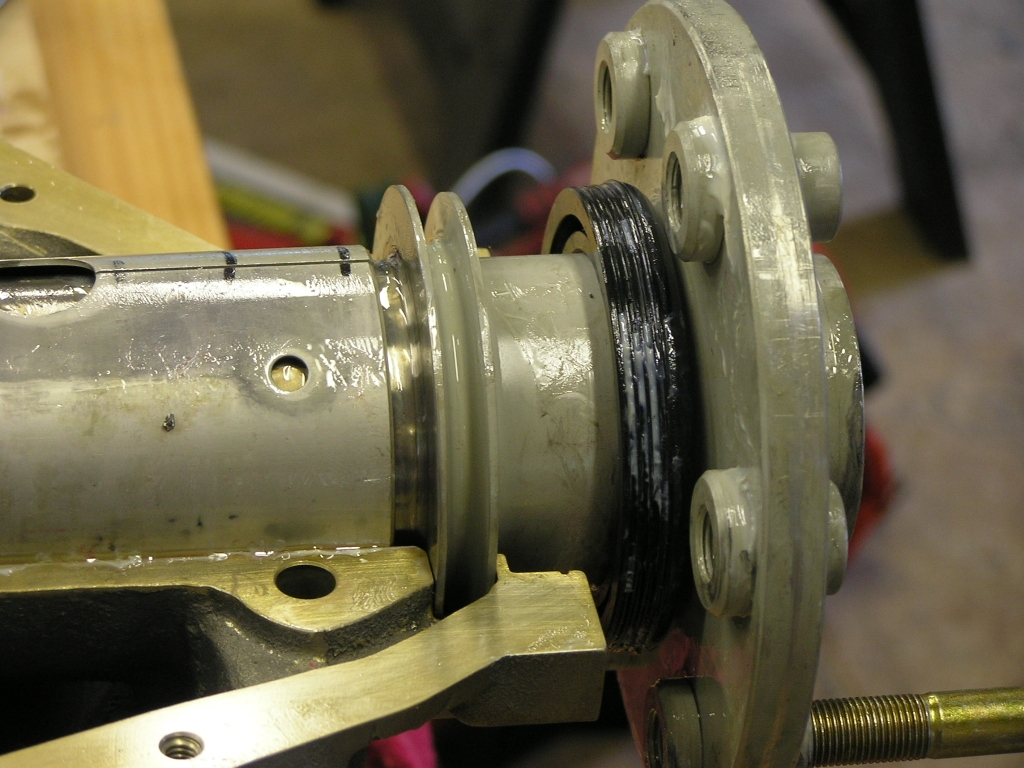
We then installed the front seal on the crankshaft. I
engineered a 1x4 to act as a lever to hold the crank from
turning while we slid the seal over the flywheel flange.
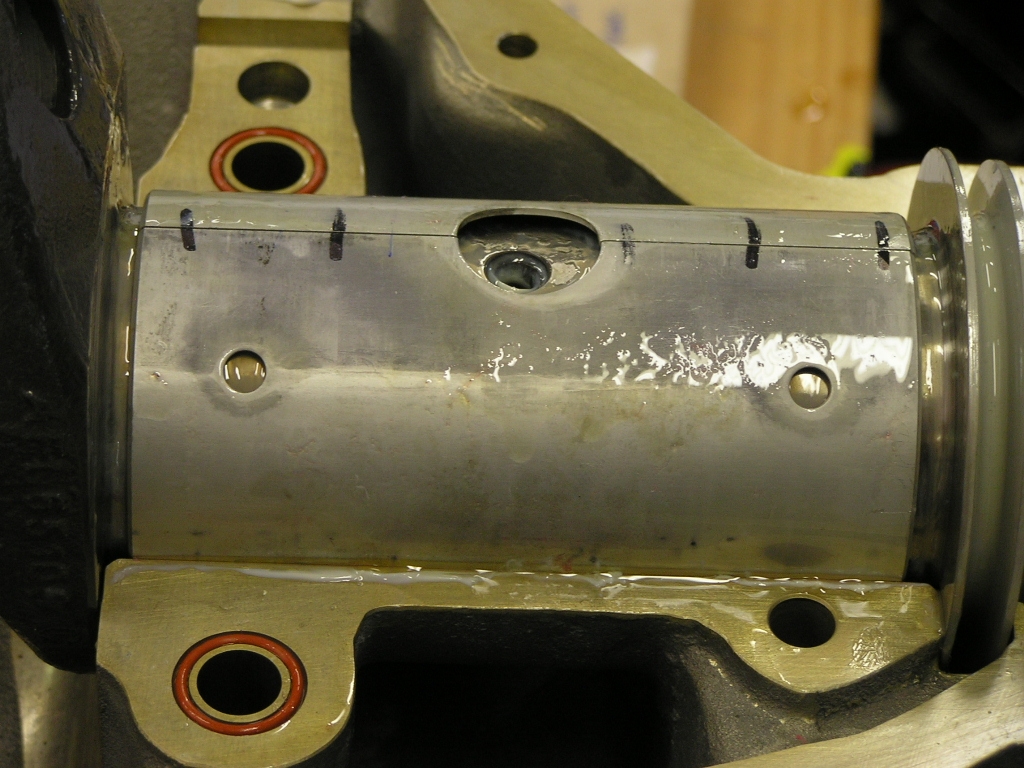
Lastly, we installed the front bearing on the crankshaft and
placed the crank in the right case half. |
6.0 |
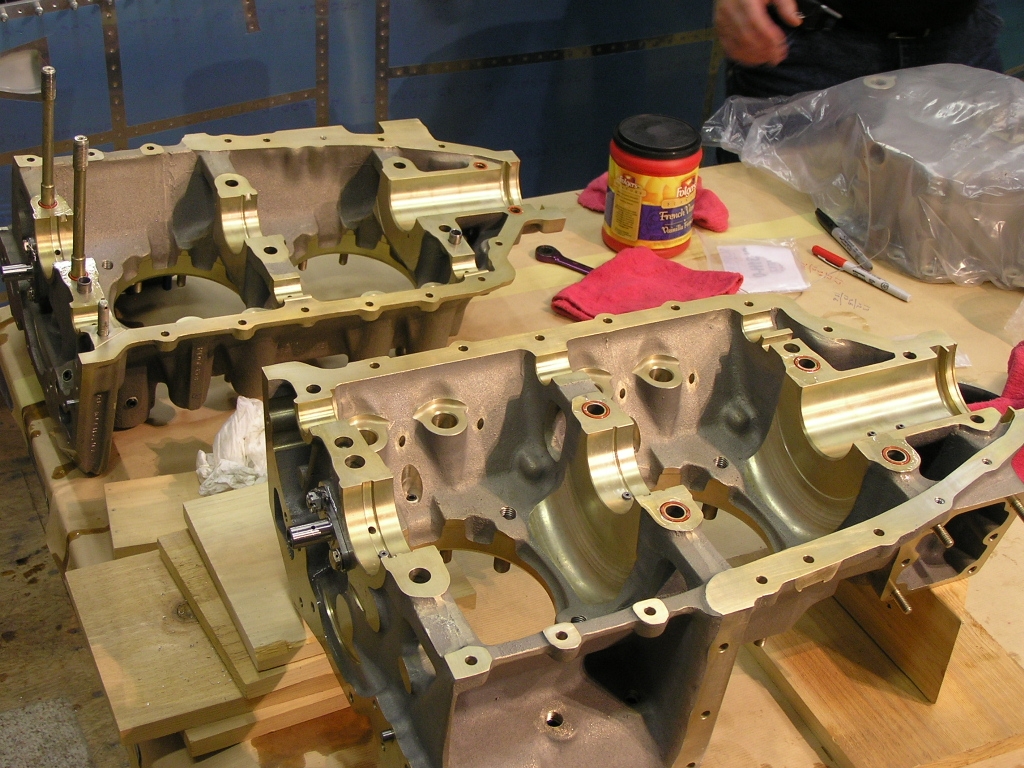
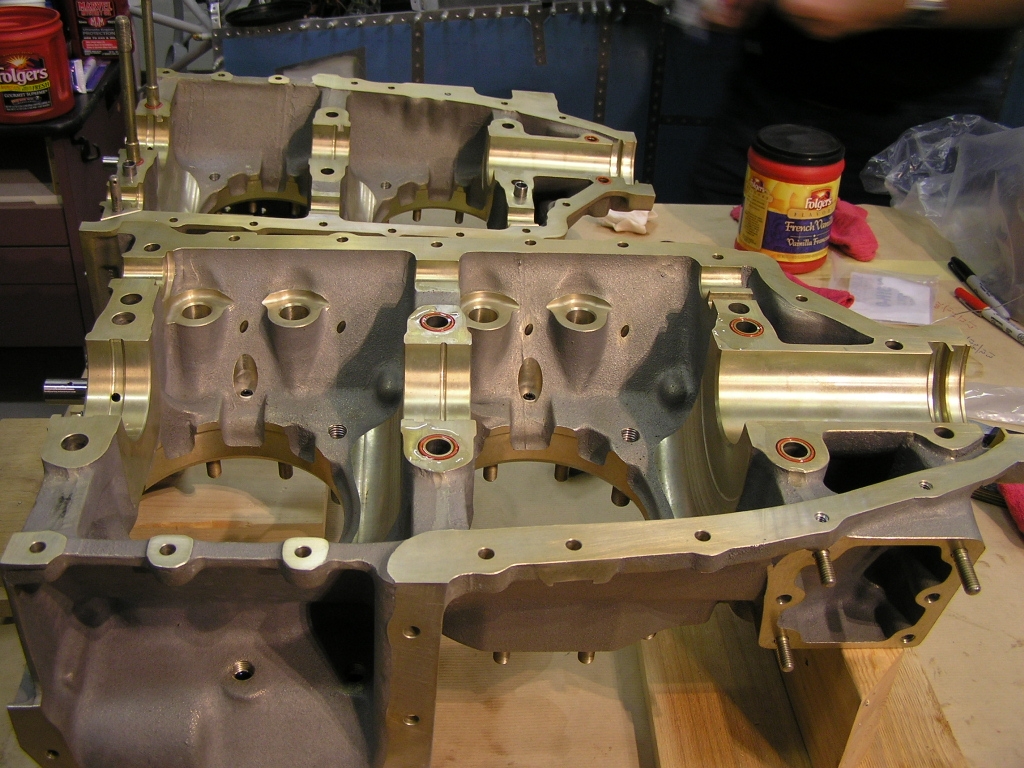
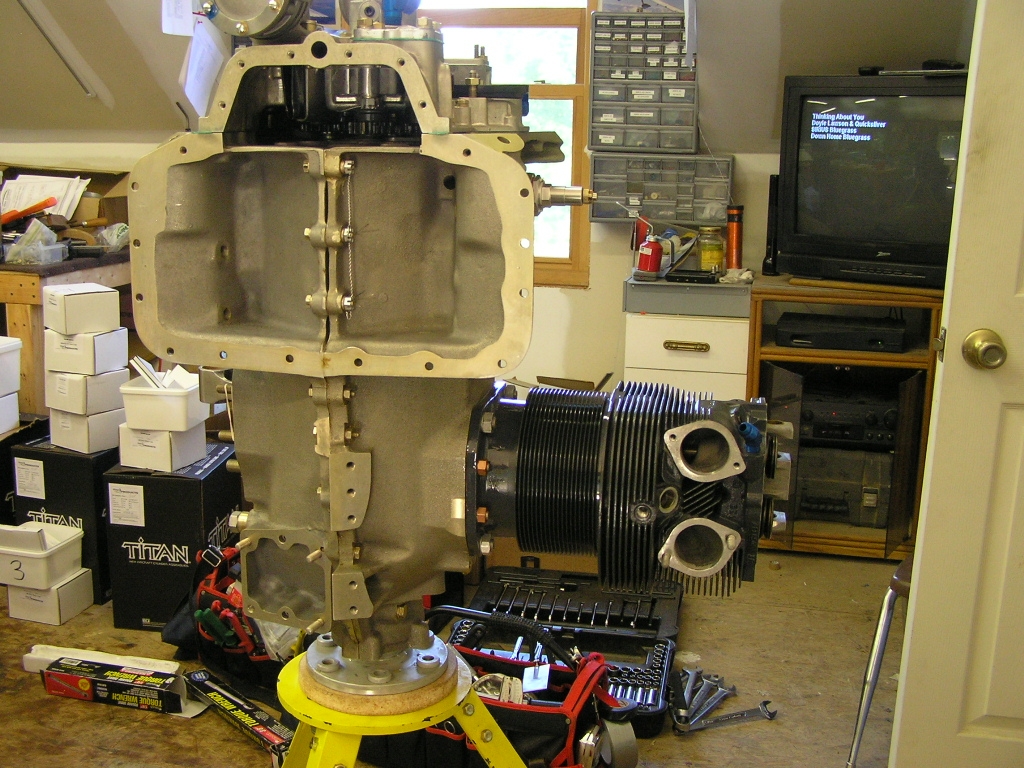
| 7/16/08 | Terry and I got back on the engine tonight.
We received the new accessory case. We started by applying
the Aviation Permatex on the case faces that will be joined and
laid the double strands of silk thread on the right case half.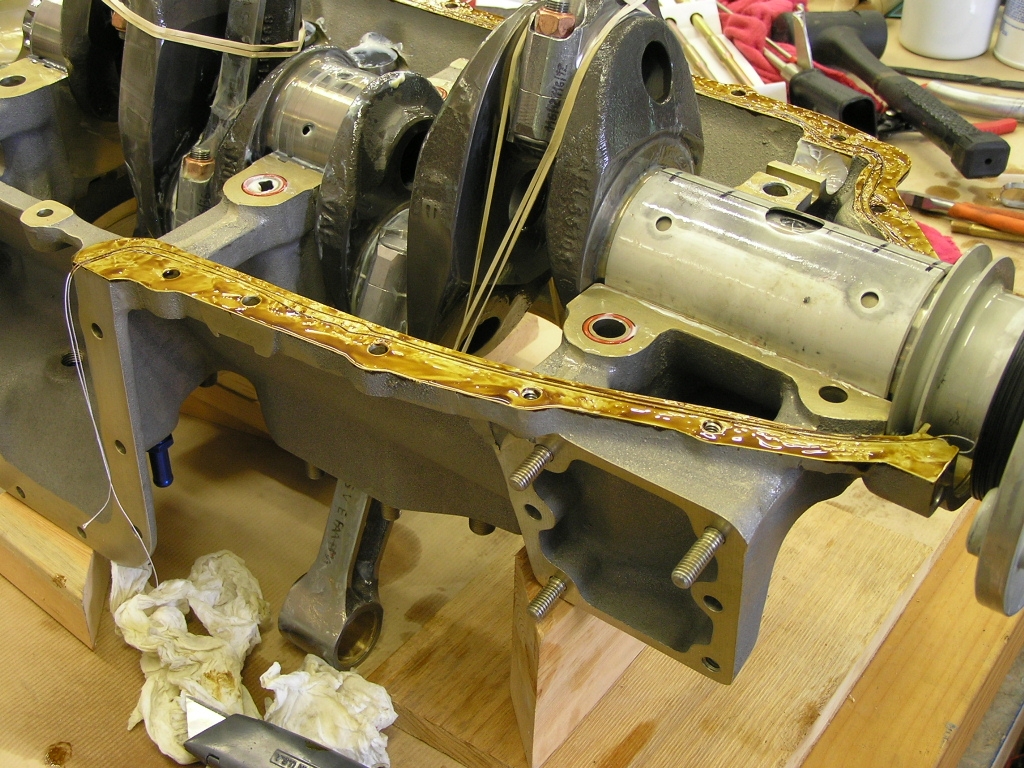
We then carefully laid the left case half onto the right half
and tapped it with a rubber mallet until the cases were
separated by a .025" gap. We installed the bolts, washers
and nuts around the perimeter of the case and finger-tightened.
We then installed the thru-bolts (4) using a block of hickory
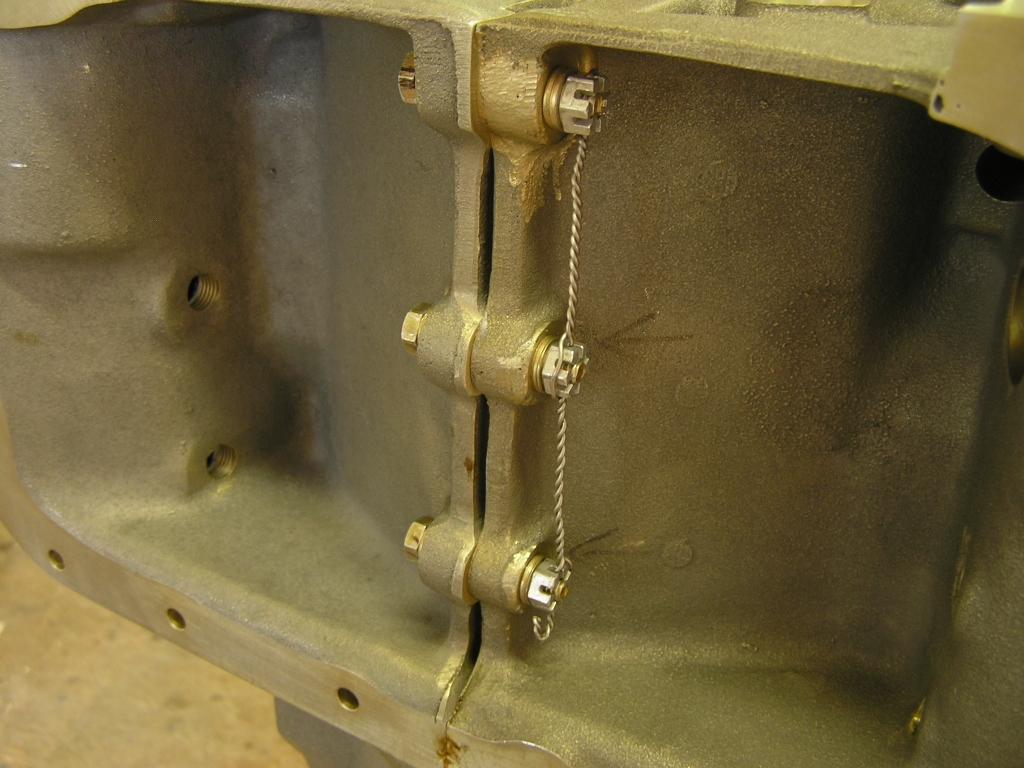
and a 2-lb hammer. We then installed the engine on the
stand and carefully torqued the case bolts as well as the
thru-bolts. We installed the nut under the tach drive and safety wired. We safety wired the three nuts in the sump. |
3.0 |
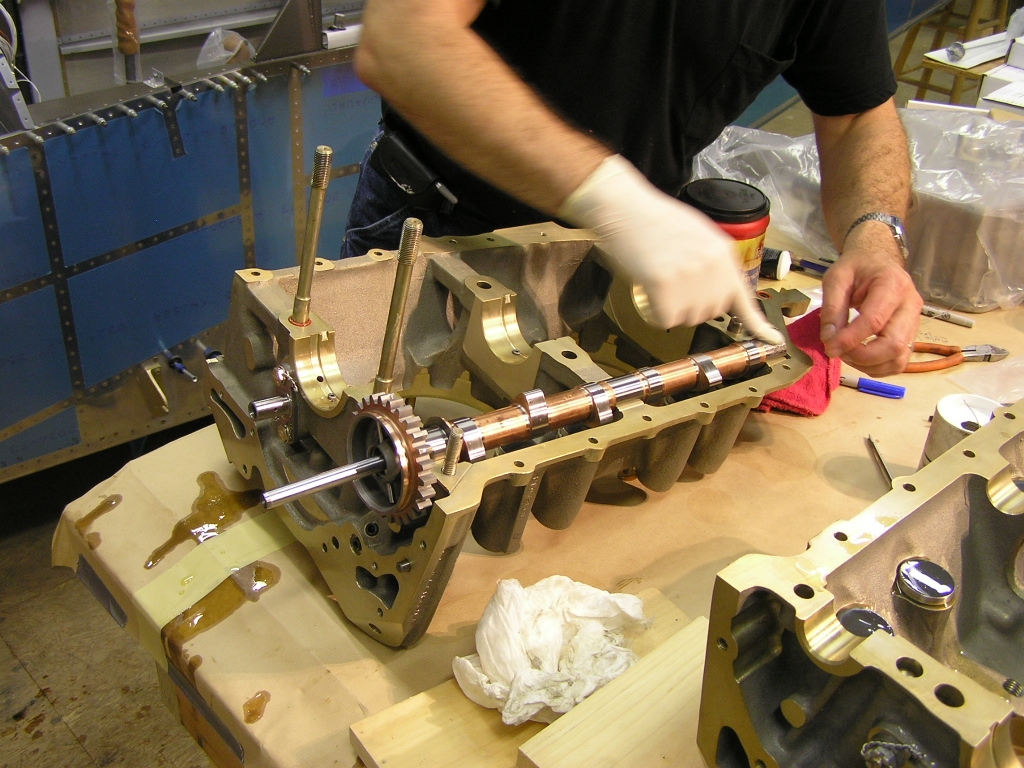
| 7/18/08 |
Terry and I re-checked the torque on the case bolts and moved on
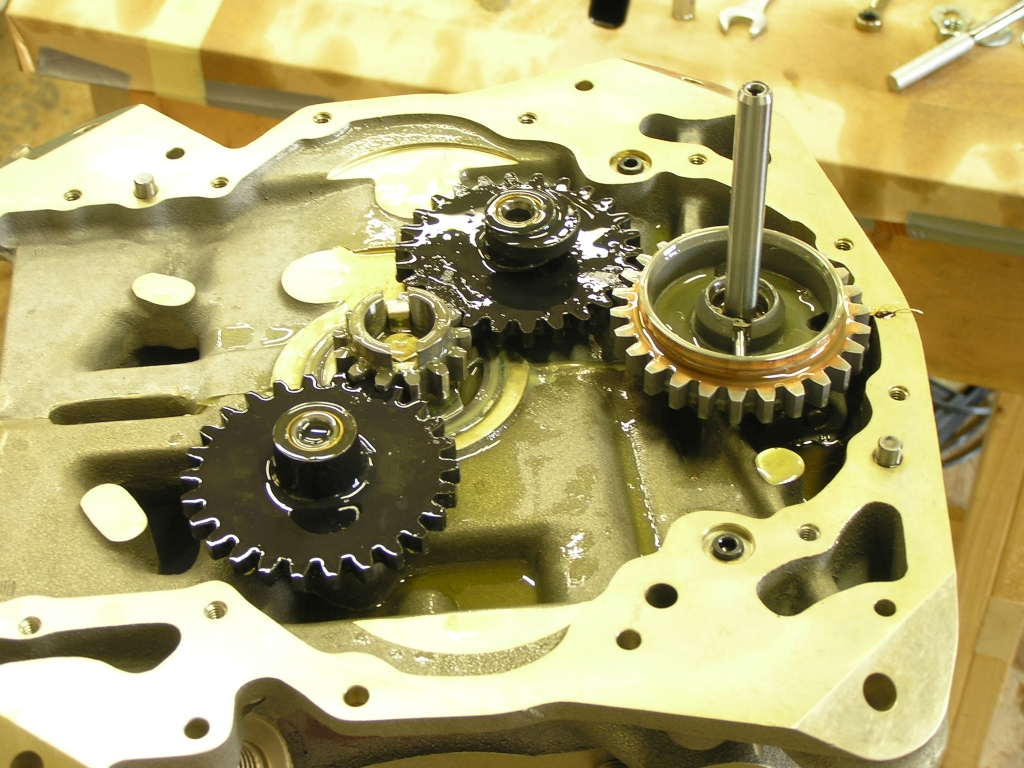
to installing the oil pump on the accessory case.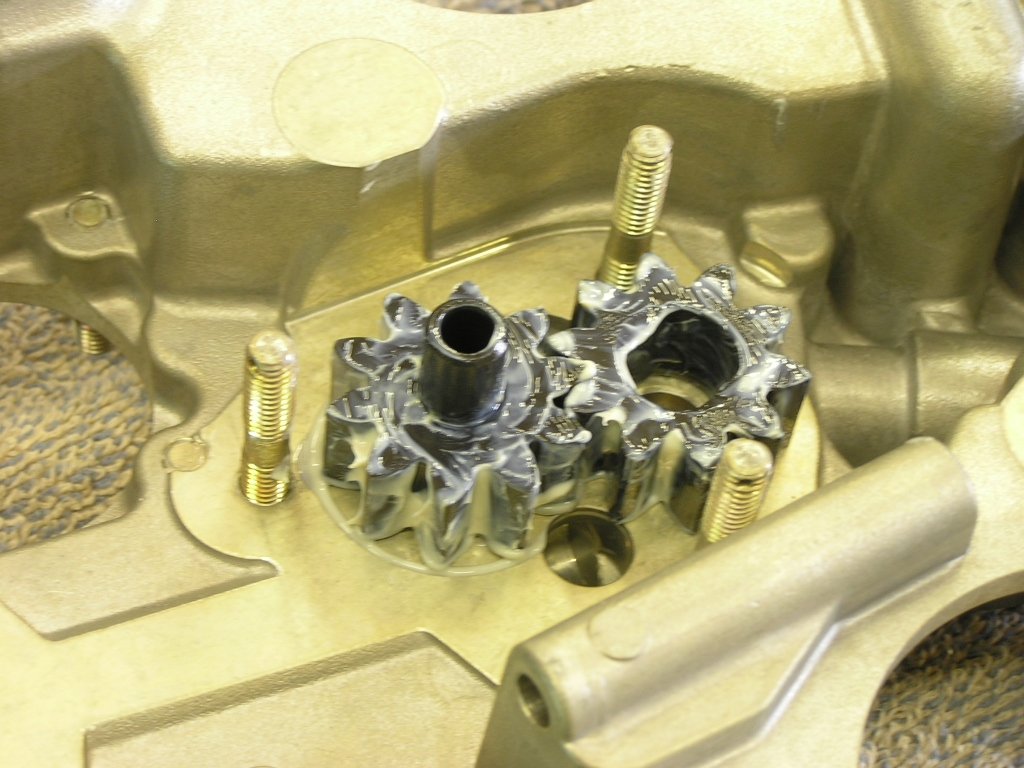
While I safety wired the oil pump, Terry installed the timing
gear and idler gear. We verified the timing was set to TDC. We installed the vacuum pump bearing and gear and temporarily
put the cover on the pad. I will be installing an 8-amp
alternator on this pad after the engine is installed on the
plane. Next, we installed the fuel pump and safety wired. Finally, we installed the oil filter adapter but did not
torque. I am unsure if I will be needing an extension
until the engine is installed on the plane. |
4.0 |
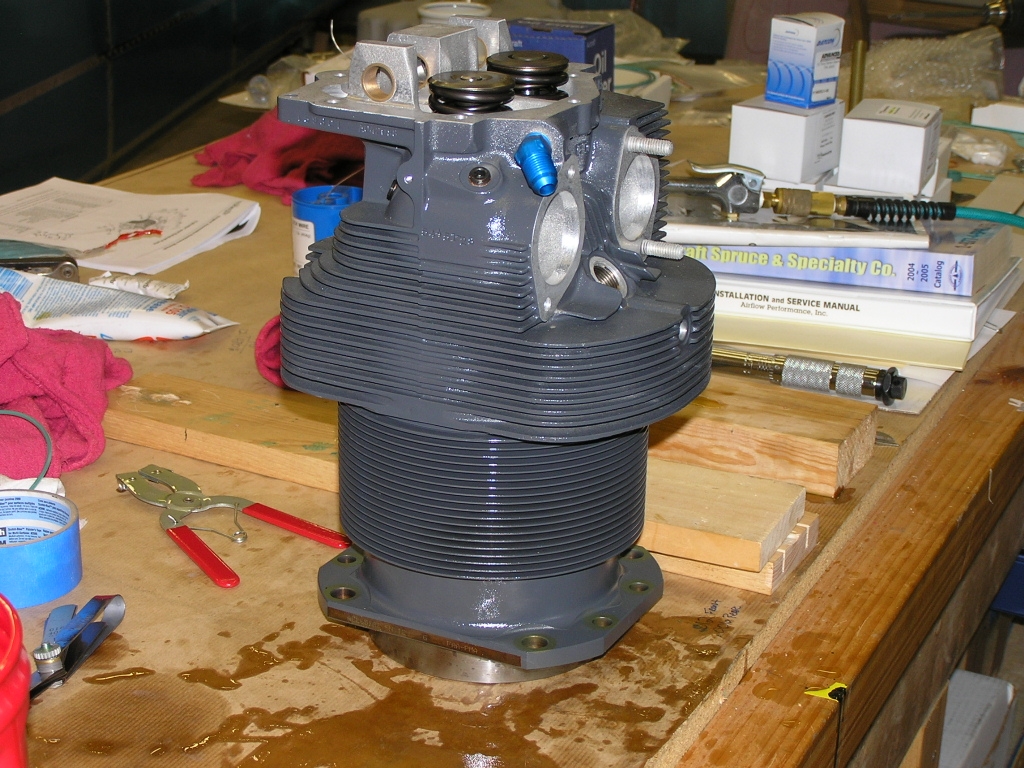
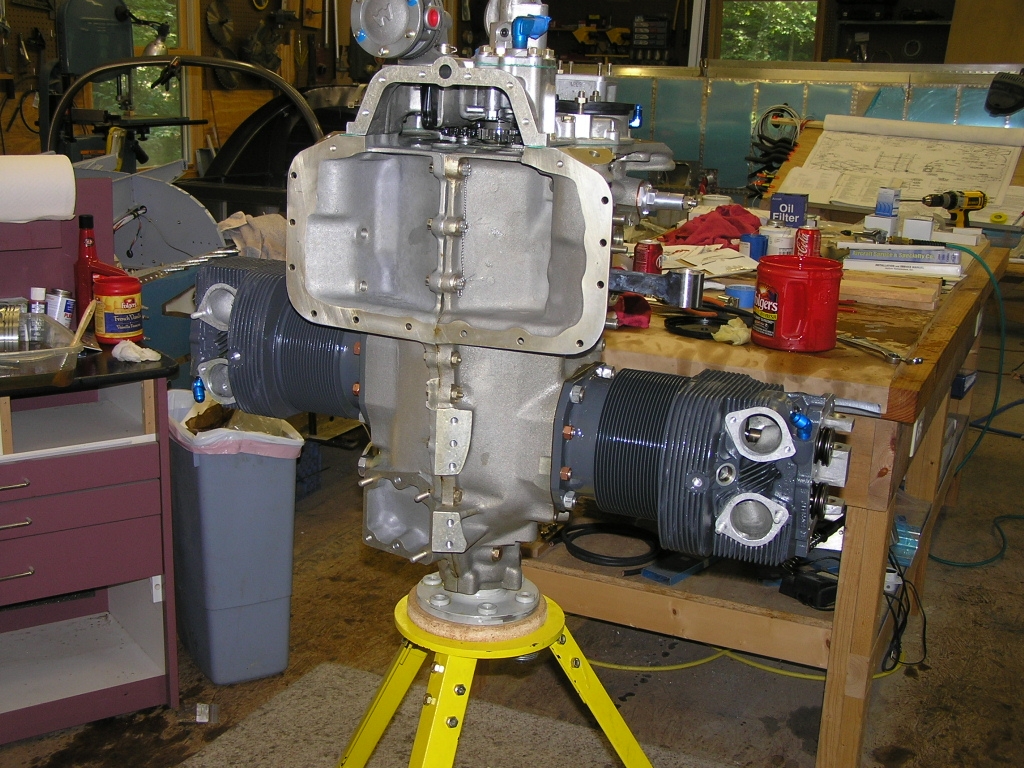
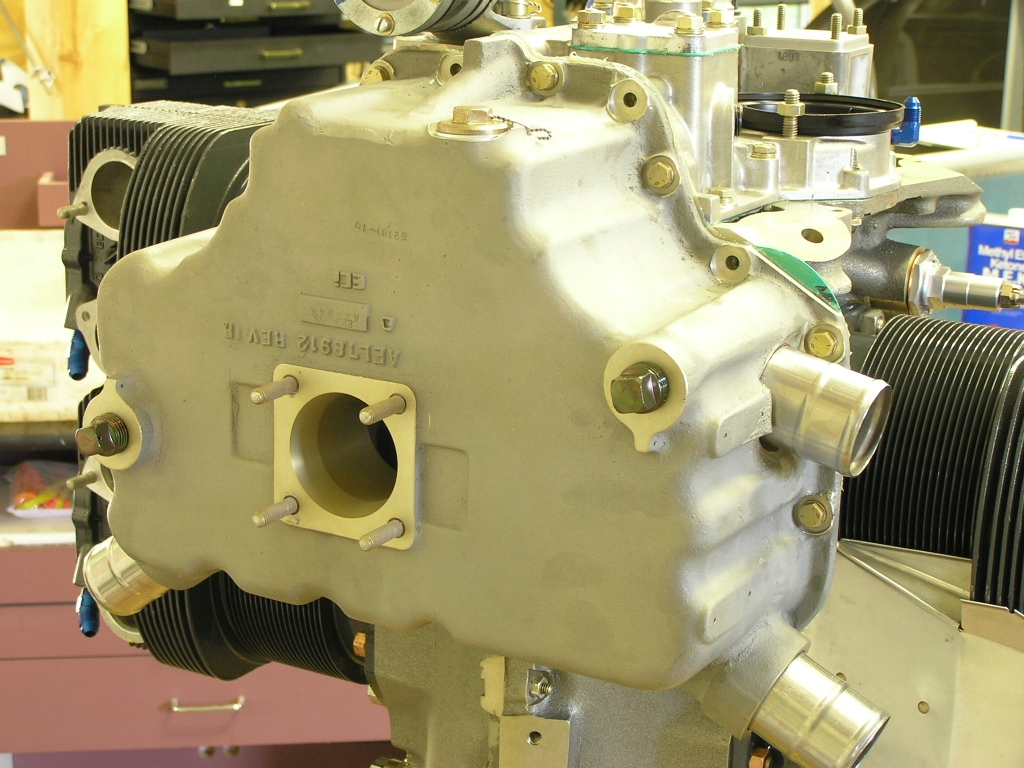
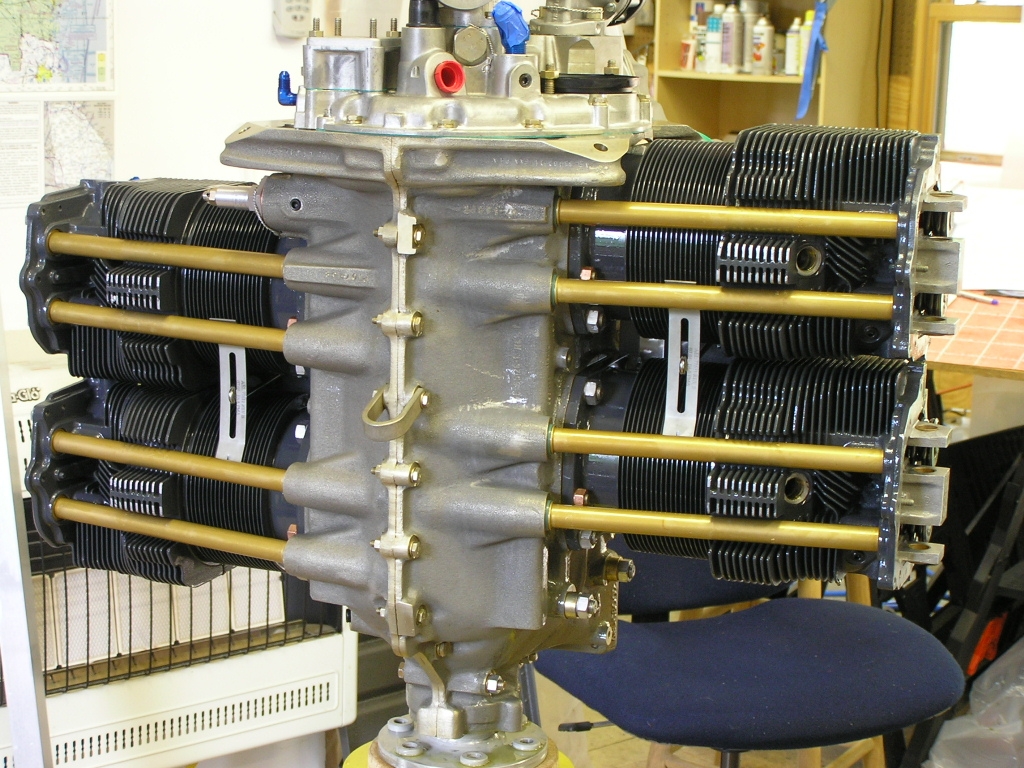
| 7/19/08 | Terry and I hit it early today and
installed the oil pressure valve.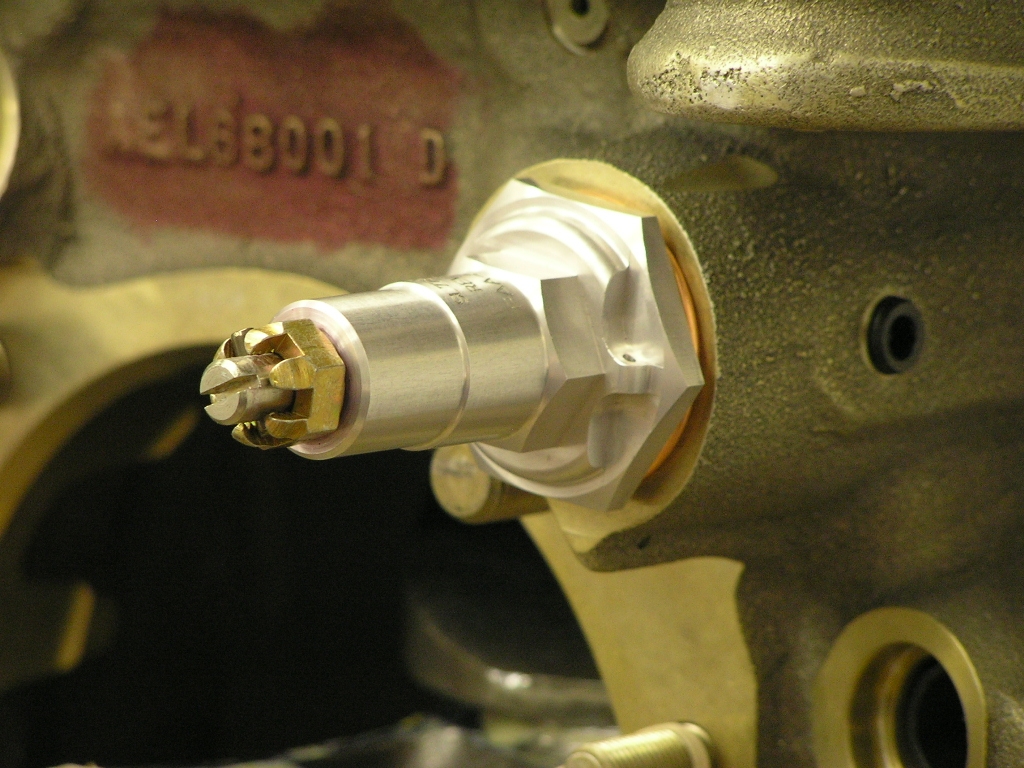
With all the accessory case items installed we felt we could
that would not interfere when mounting on the plane, we were
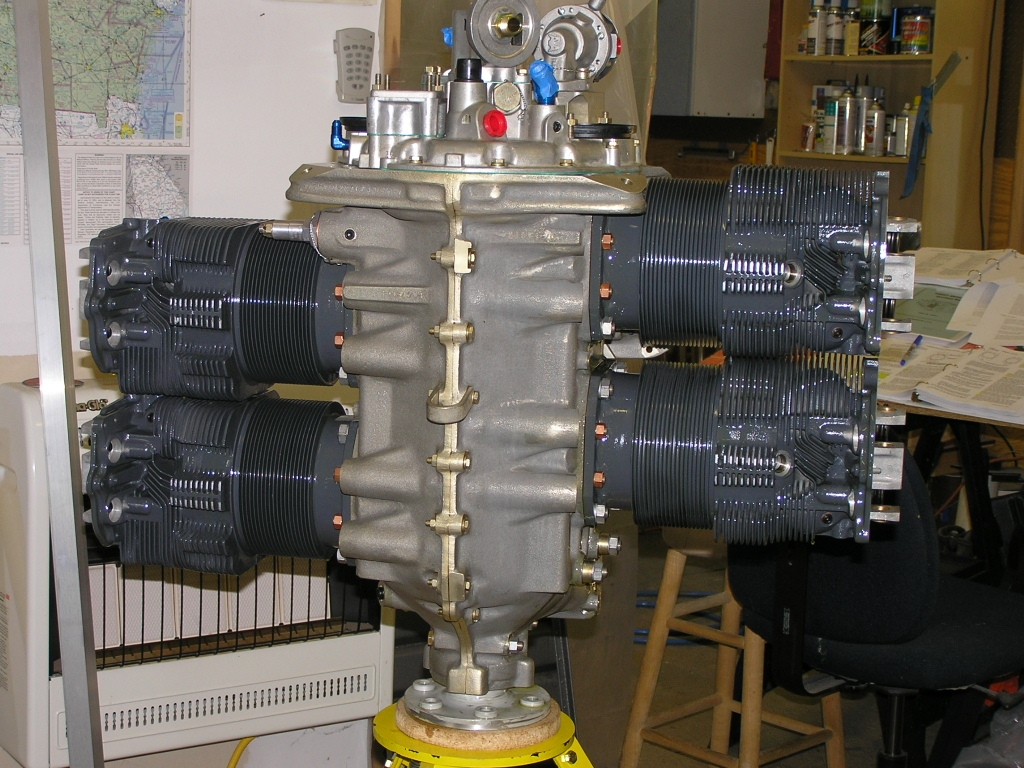
ready to install the cylinders. While I cleaned and oiled,
Terry verified ring gaps and we installed them starting with the
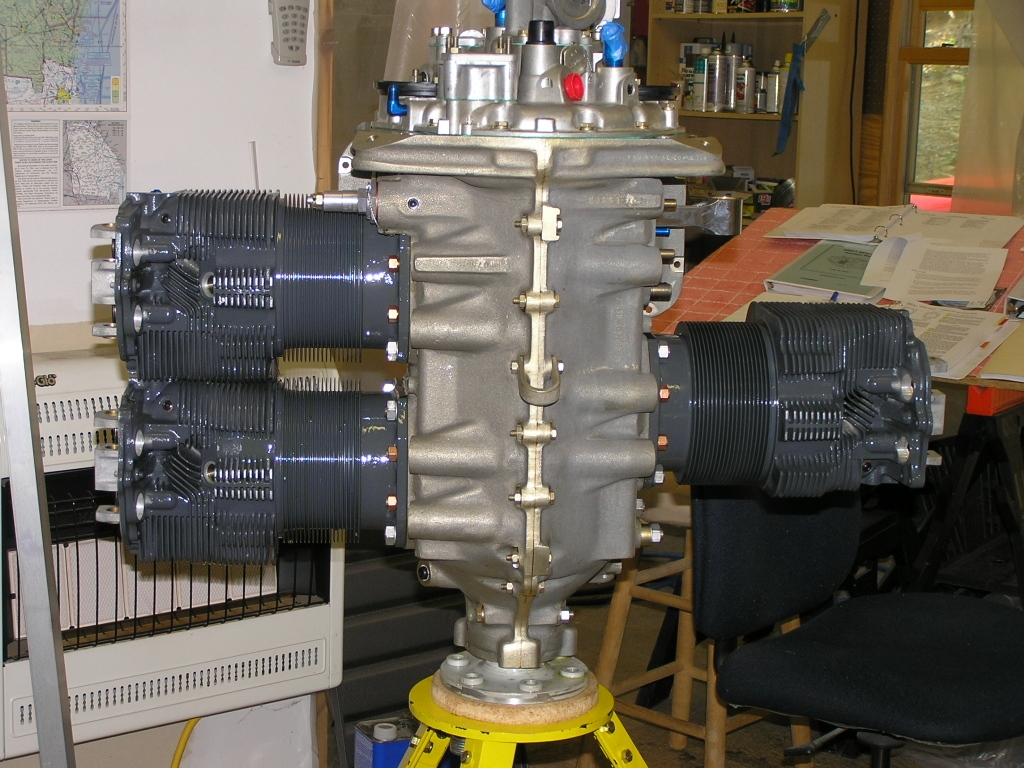
#1 cylinder. Two cylinders... Three... And finally, number four. Next, we installed the sump but found we were short about
five bolts. Guess I will need to call Jesse at AERO on
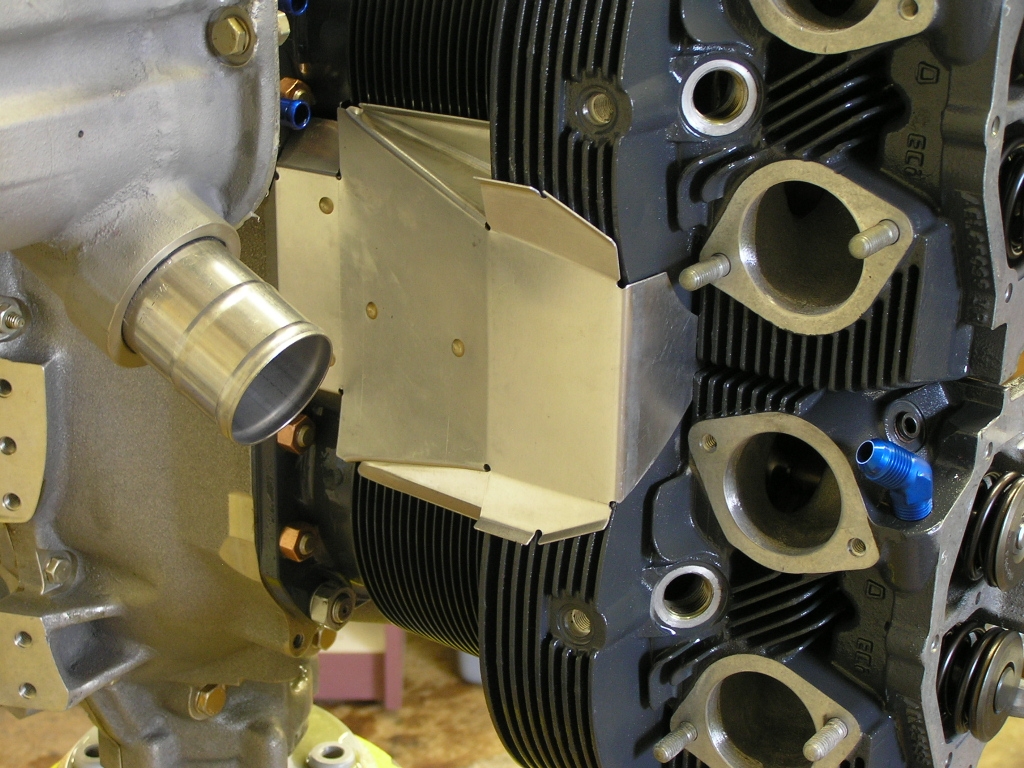
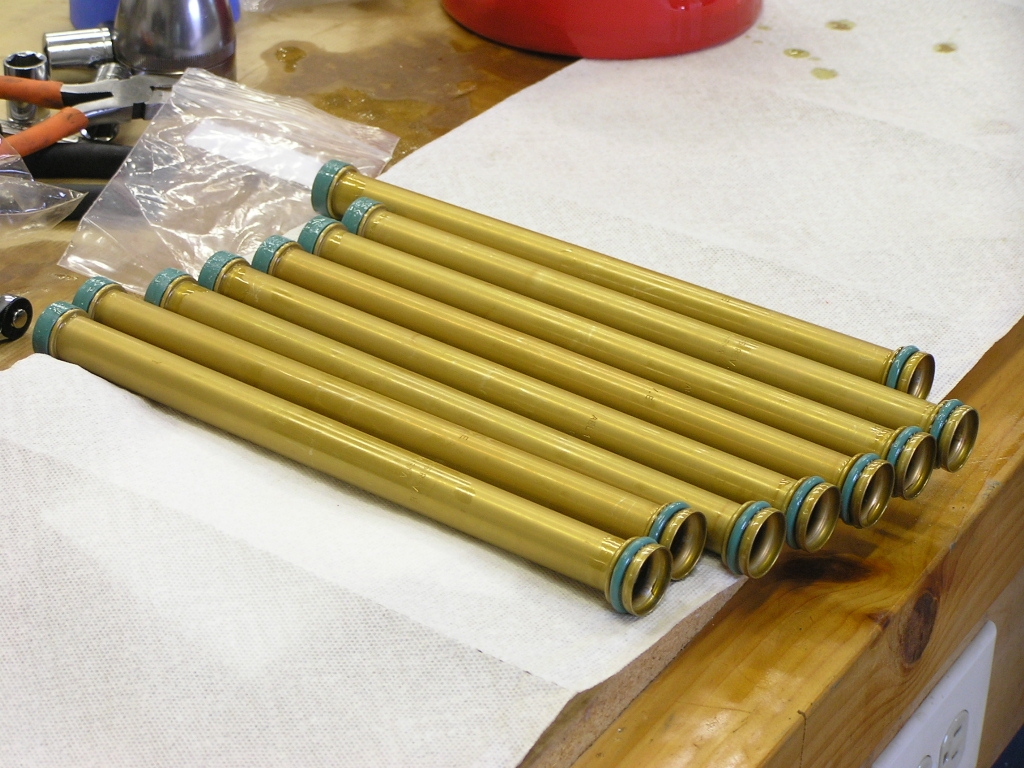
Monday. While Terry worked on installing the hydraulic lifters, I
installed the inter-cylinder baffles and alodined the pushrod
tubes. Pushrods installed as well as rocker arms. And finally... A completed engine. We have identified a number of various hardware items we still need in order to finish installing the electronic ignition as well as the fuel injection system. Anyway, the engine is now ready to mount. I still need to get the panel mounted and finish the majority of the wiring so I can install the top skin. Then, I can install the landing gear. Then I can mount the engine.... I will be jumping around a bit now but will be updating my
status on the
Home page. |
12.0 |
|
Fuel Injection System
Install |
||
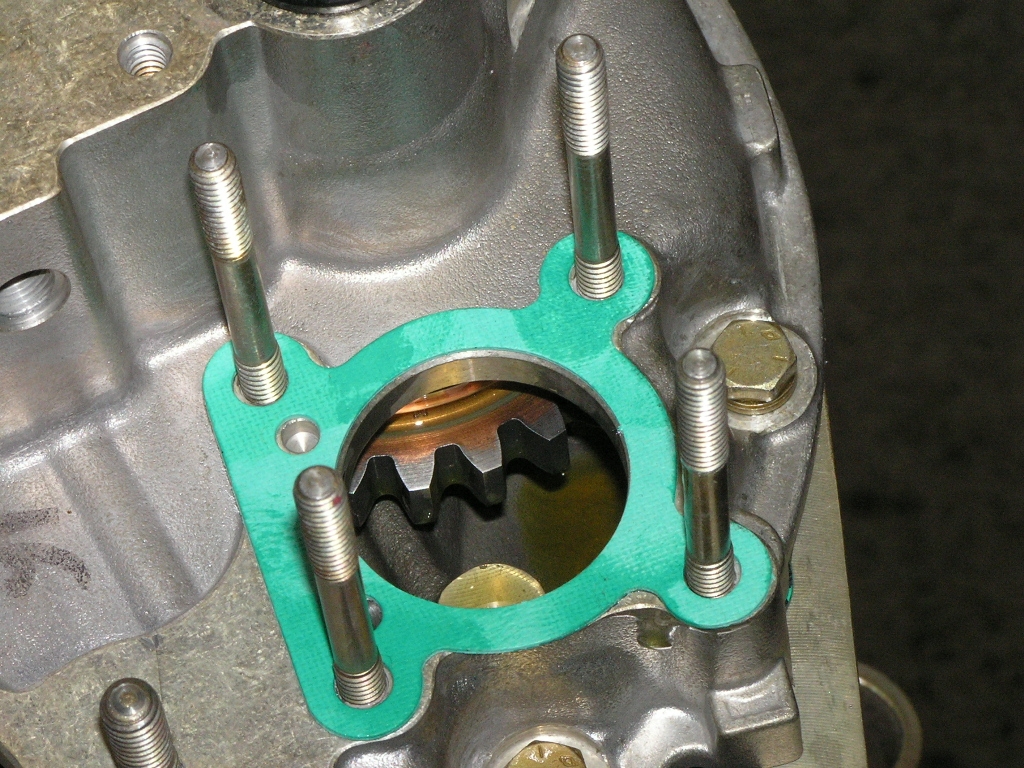
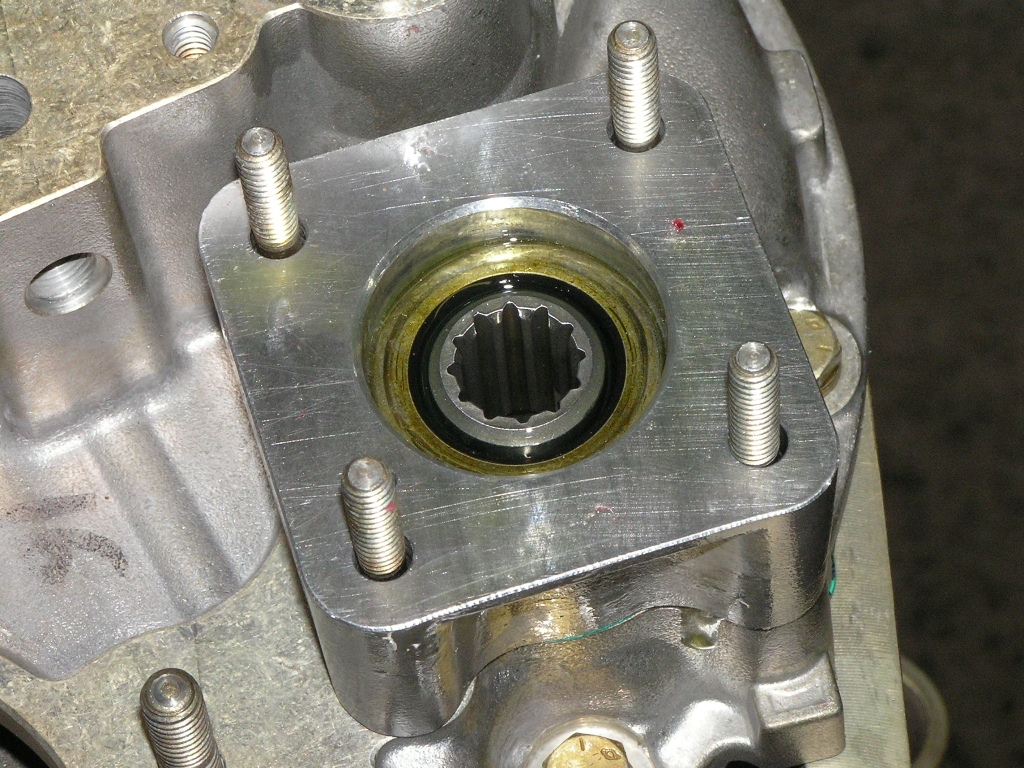
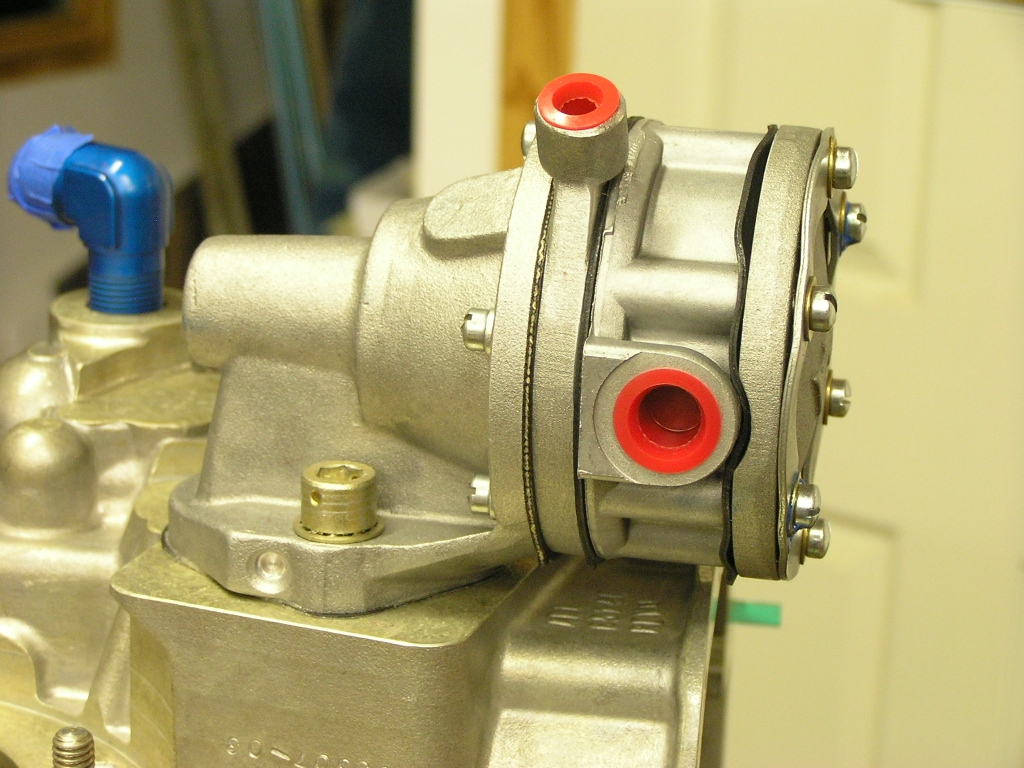
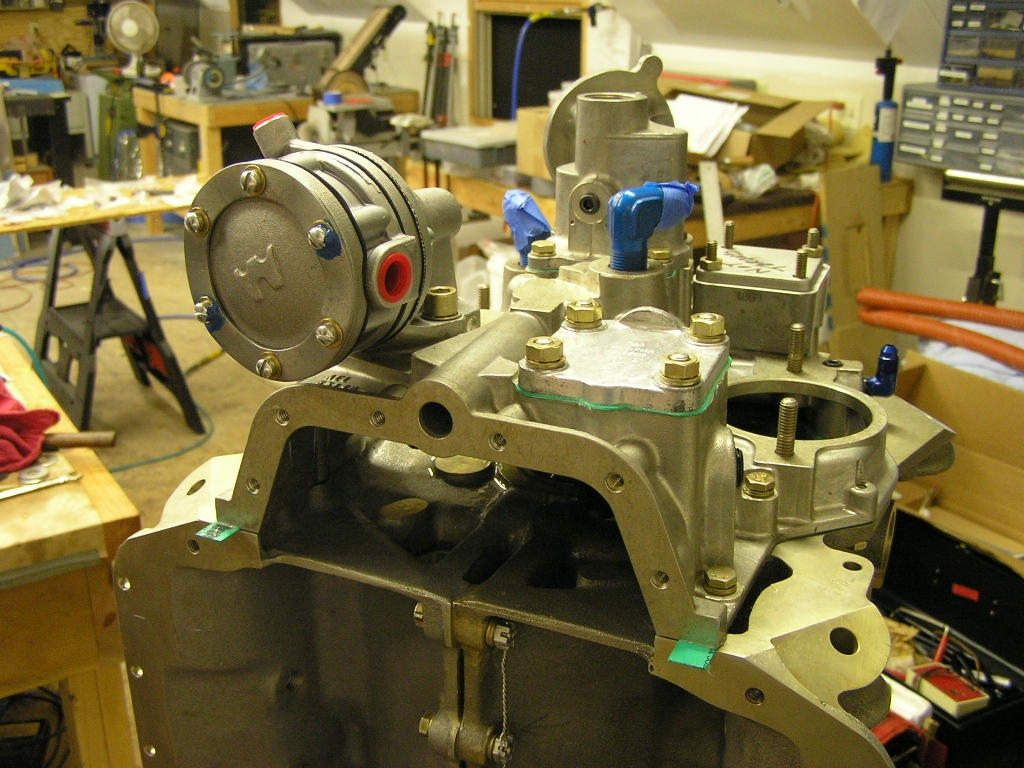
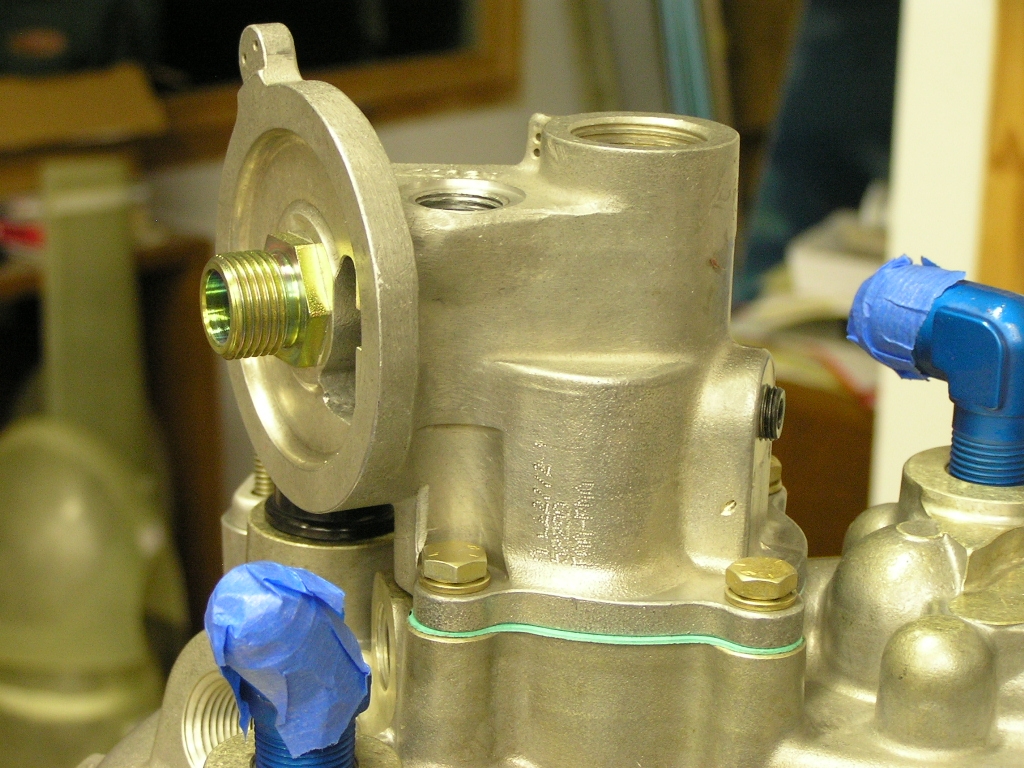
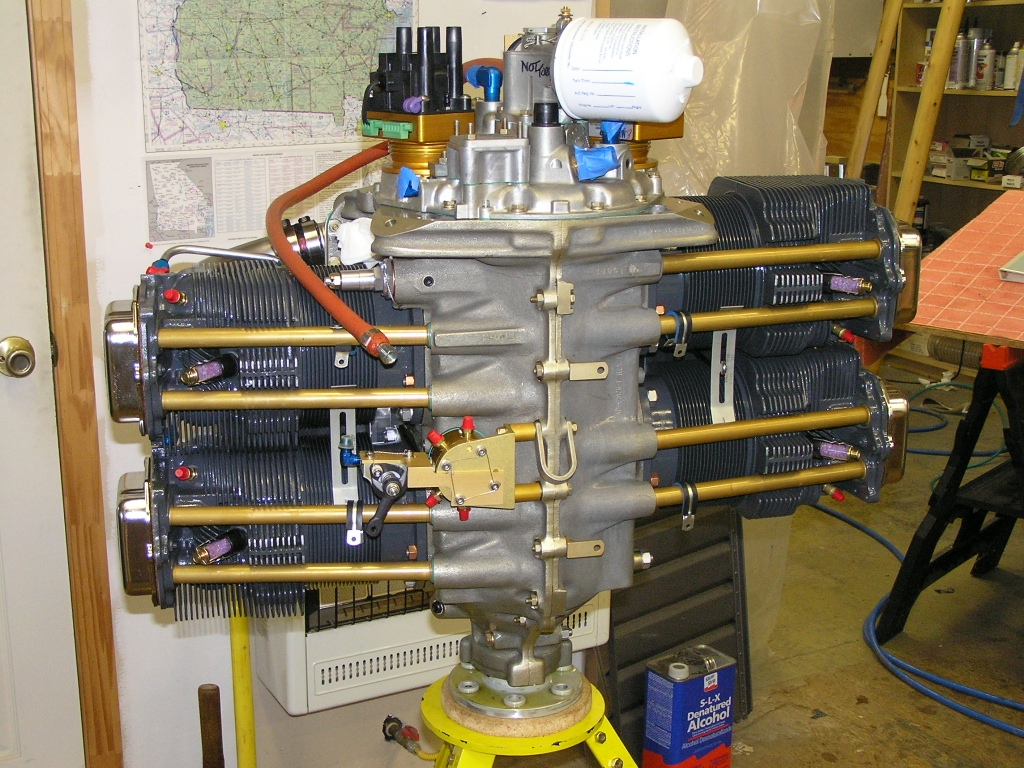
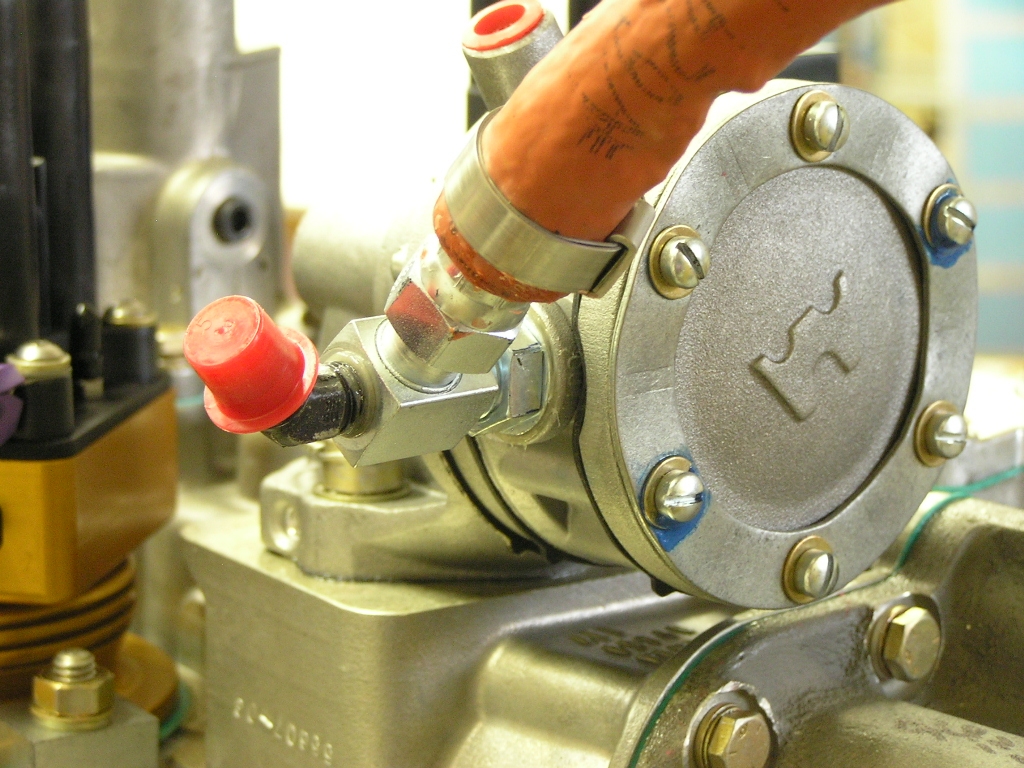
| 7/20/08 | Today I started piecing together the
Airflow Performance Systems fuel
injection system. In order for the throttle body to bolt
to the vertical sump, I first had to remove the studs. The
throttle body simply bolted right on. It took a while to
figure out the throttle and mixture brackets orientation but I
prevailed. 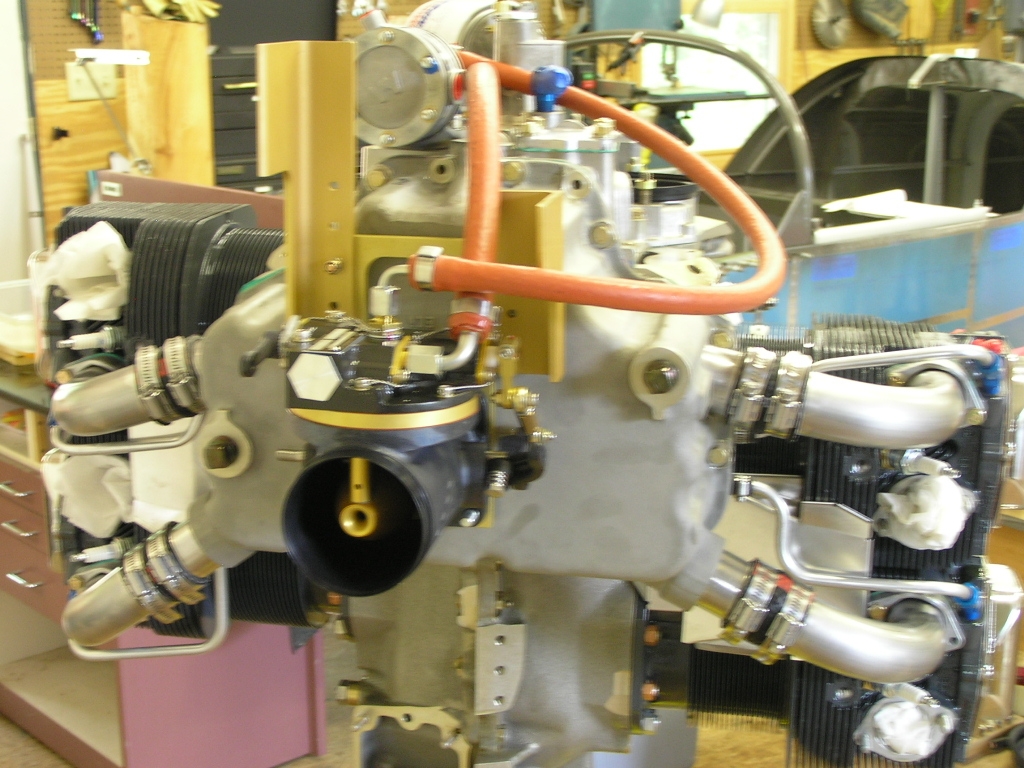
I also bolted on the fuel servo/purge valve assembly on top of
the engine. |
2.0 |
|
P-Mag & E-Mag Install |
||
| 7/24/08 | Today I received the
few sump bolts that were missing from the engine hardware and
installed them and torqued to 96 in/lbs. Next, I installed
the mag gears on the P-Mag and E-Mag. These gears are
installed and the bolt has to be torqued. I was surprised
to see that the E-Mag Installation Guide
failed to stipulate the proper torque value. I was able to
find the value of 180-300 in/lbs in the Lycoming Overhaul
Manual. |
2.0 |
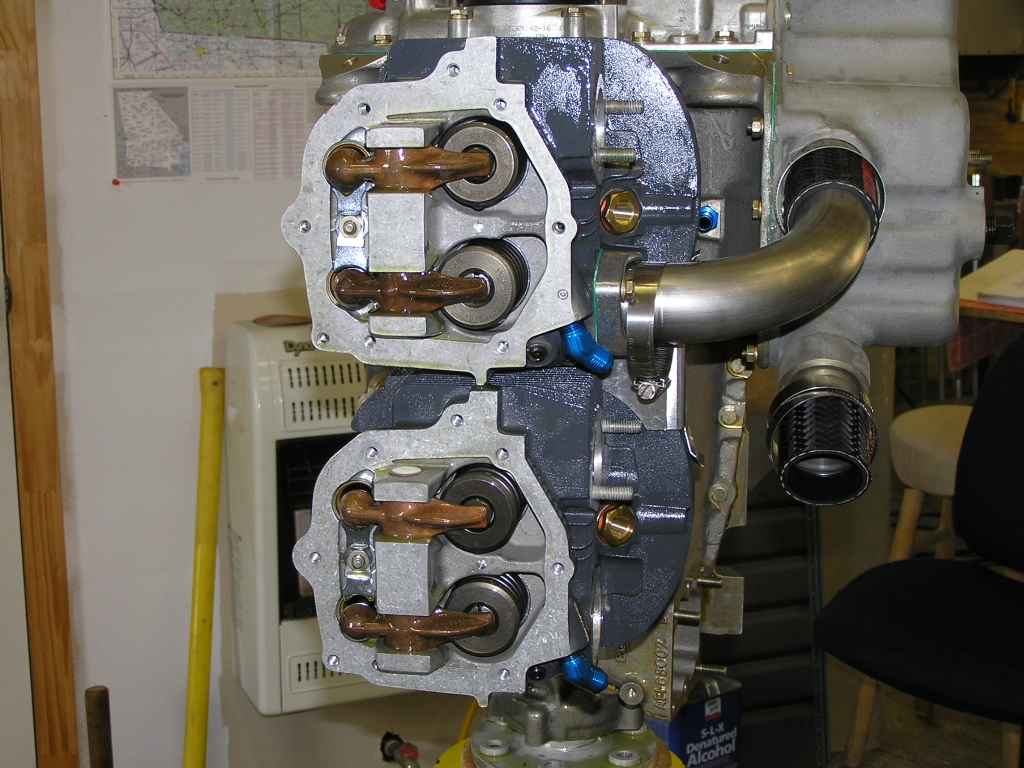
| 7/25/08 | I installed the mags using the Bendix-style clips
sent to me by Jesse. The nuts are torqued to 204 in/lbs.
Alignment is really unimportant with the mags as the timing is
set later.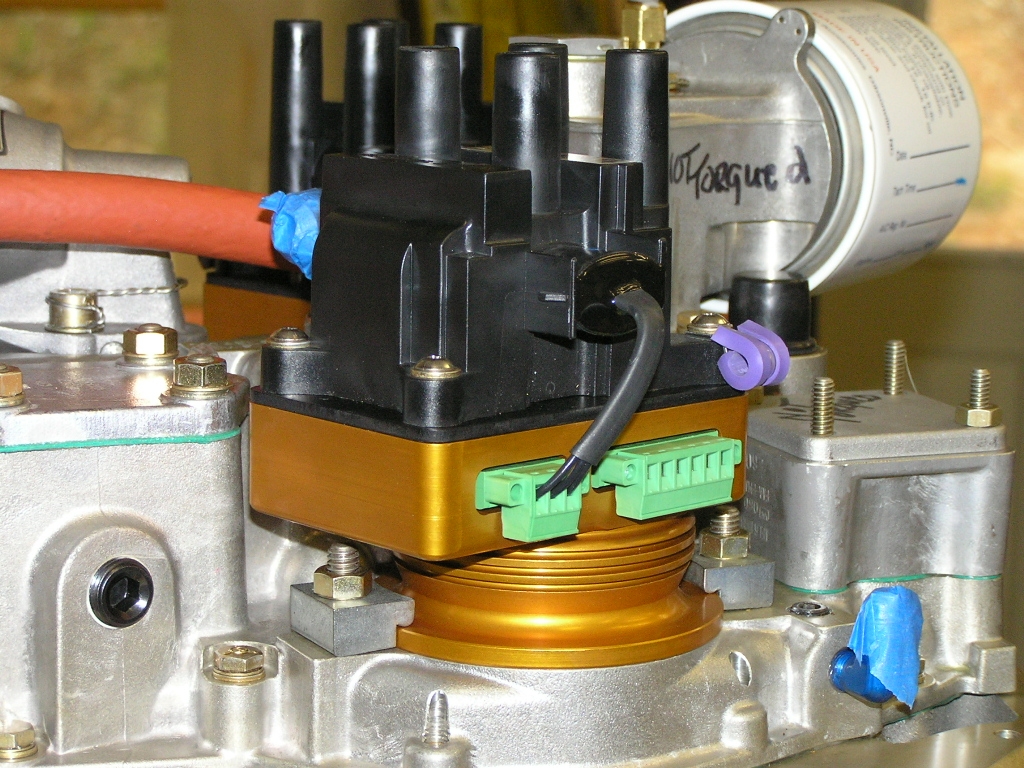 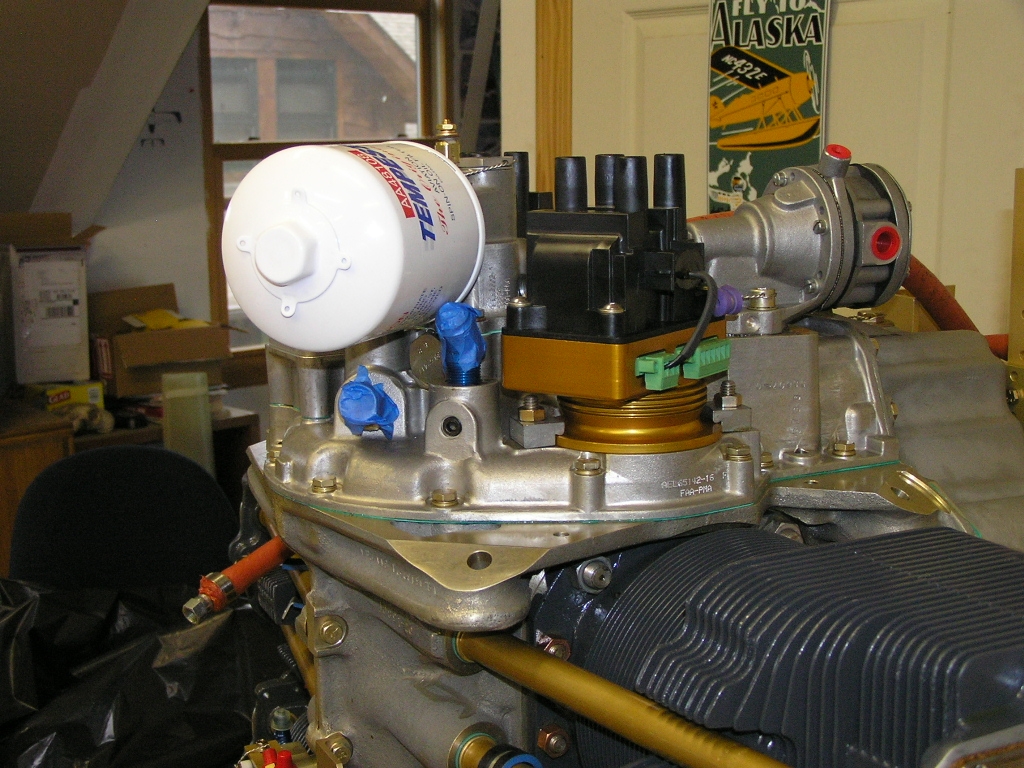 |
1.0 |
| 7/29/08 | I had to call Vans
today because I realized they had shipped me the wrong filtered
air box for my AFP fuel injection system. I was please to
hear they will send me the correct component for my FAB and I
can just send them back the piece I received. All this for
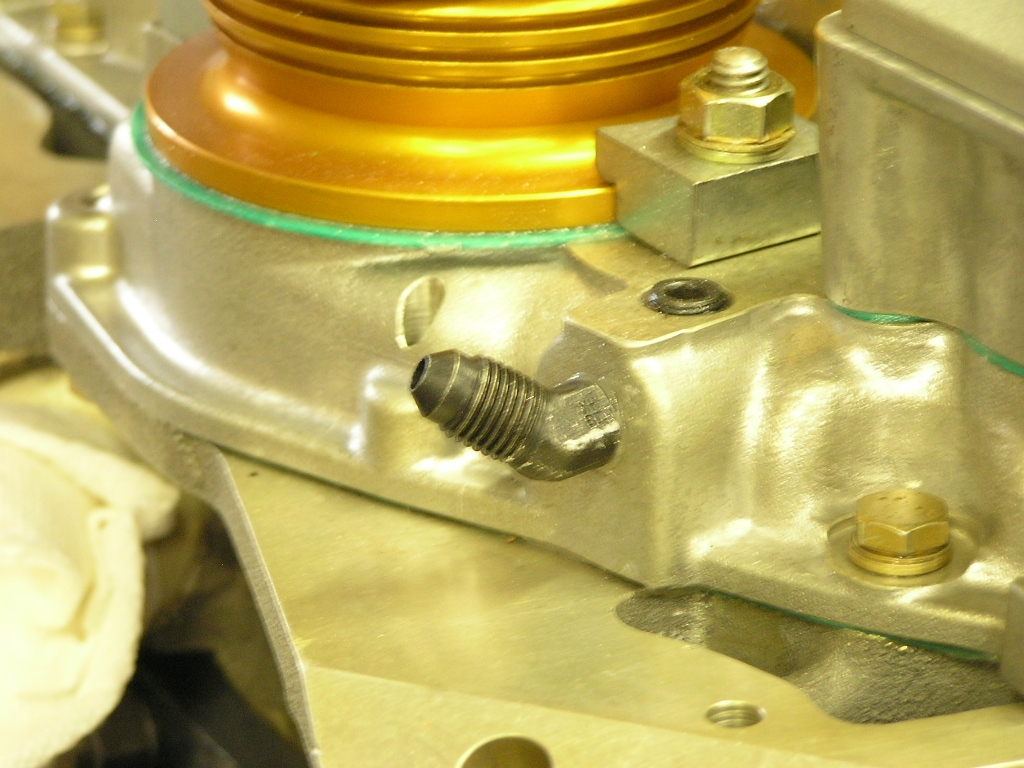
no charge! I went ahead and removed the AL fitting for the oil
pressure sender and replaced it with a steel restrictor fitting.
I also installed a fuel pump fitting on the outflow side as well
as a steel restrictor fitting for the fuel pressure sender. I also received my order from AERO today. Jesse sent me
a few extra cushioned clamps to help support the fuel injector
lines as they "spider" out from the servo on top of the engine.
Lycoming has issued a SB on this to add extra clamps. He
also sent me a silicone grommet to install in the inter-cylinder
baffle where the fuel line will be routed. I also got an
oil quick drain. |
2.0 |
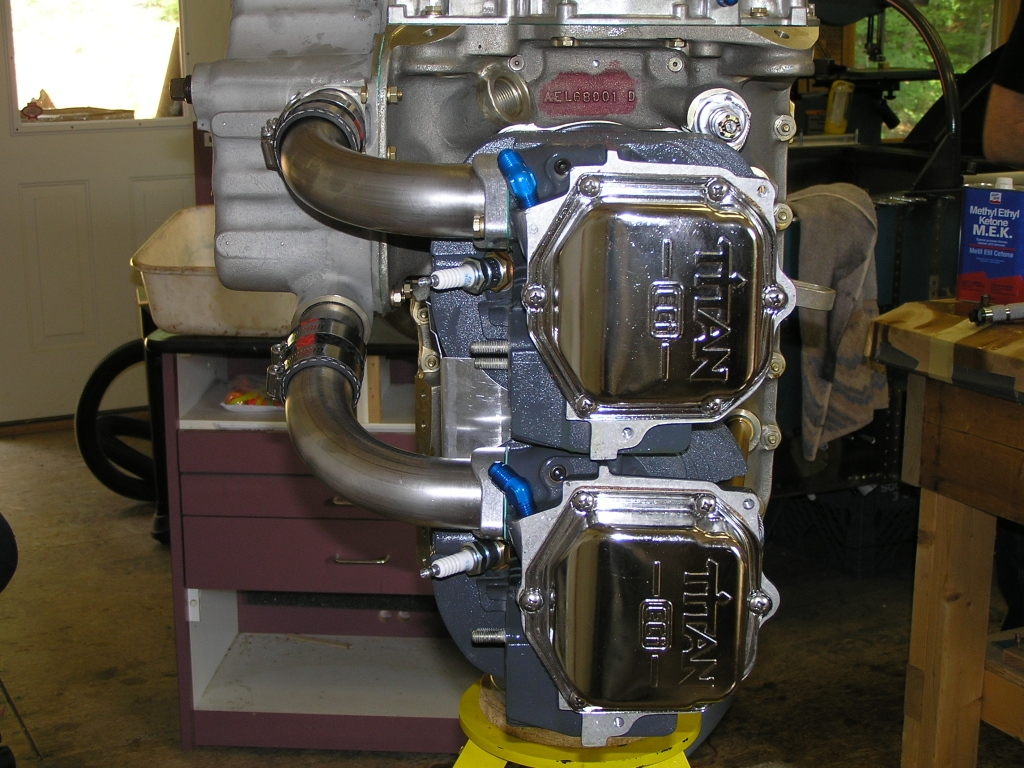
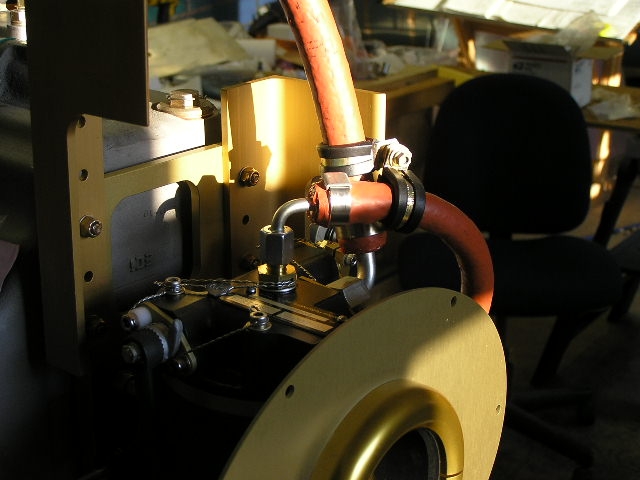
| 8/3/08 | I removed the right
inter-cylinder baffle and drilled a 1.0" hole in the center.
Next, I installed a silicon grommet over the fuel line and
installed to the baffle.
I installed Adel clamps in order to secure the hoses. |
1.0 |
|
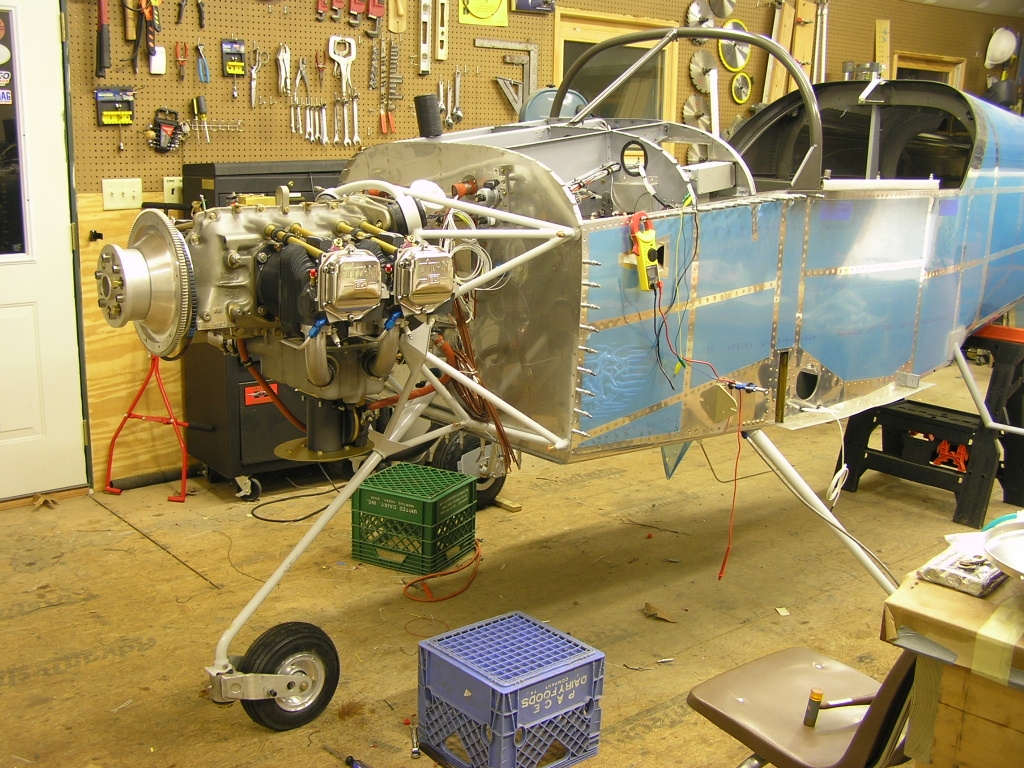
Hangin' the Engine |
||
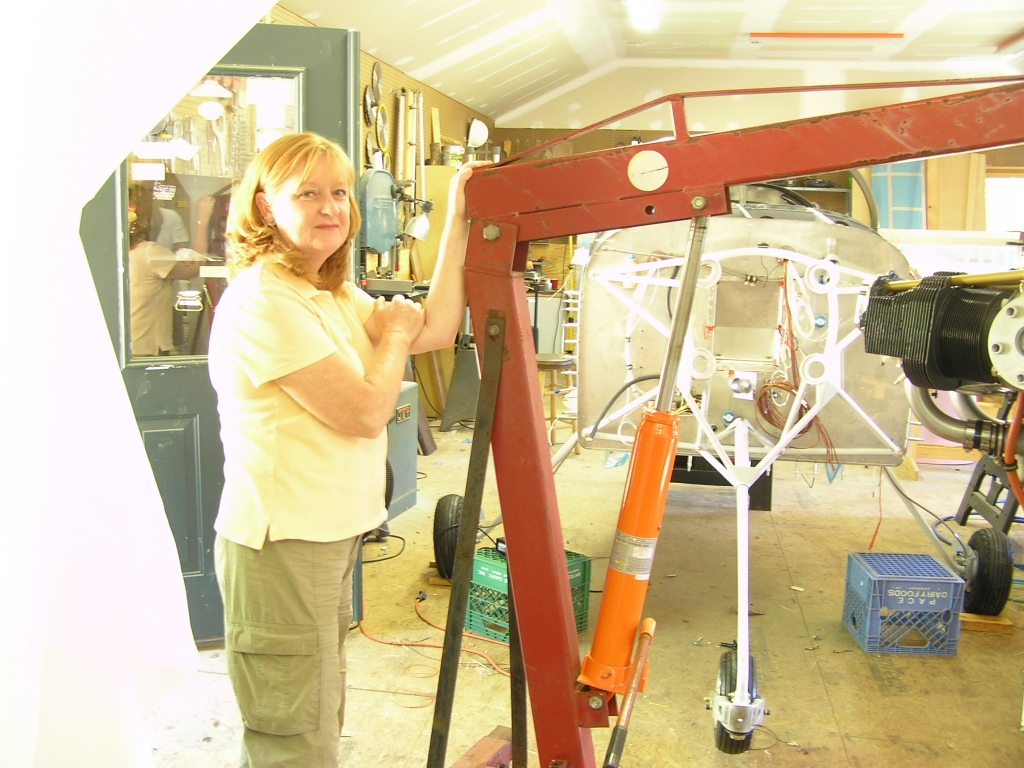
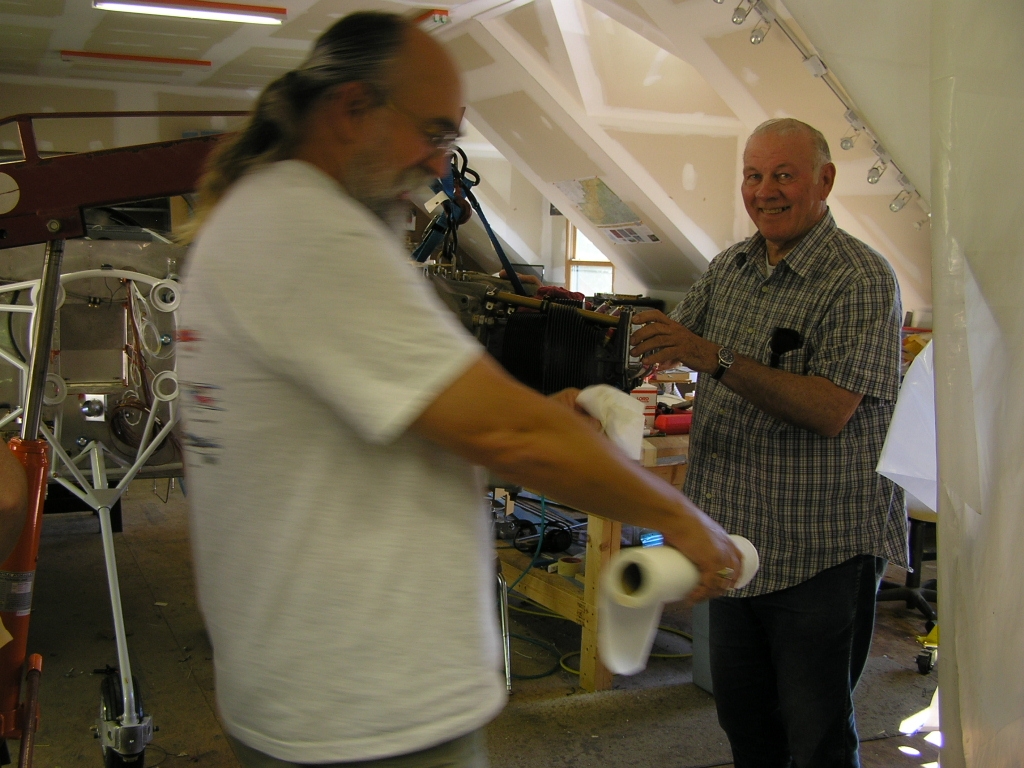
| 9/5/08 | Today is the day. I stopped by and
borrowed an engine hoist from my friend
Bill Martin.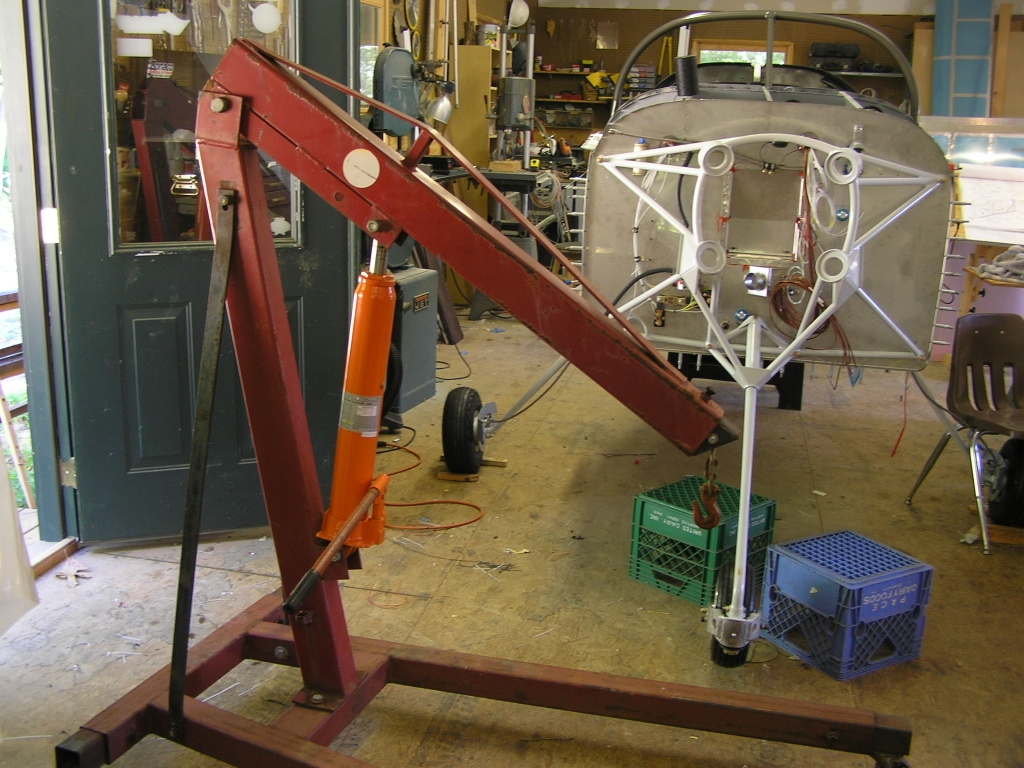
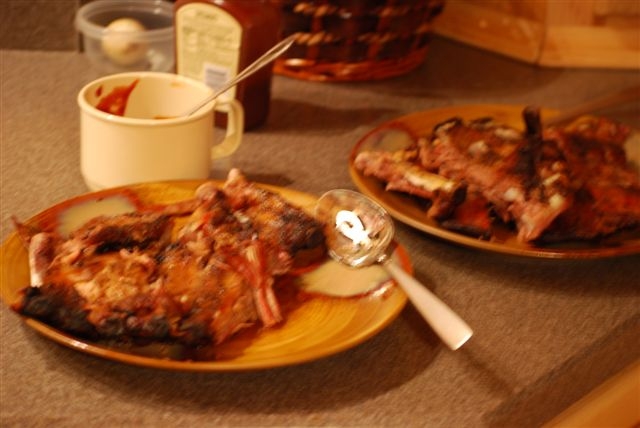
I put a couple racks of ribs on the grill and loaded the fridge
with beverages. At 5:00pm, Jim &
Bonnie Olsen, Jack Ryan and Stephen
Thompson showed up and we set to work. I highly
recommend the
Illustrated Guide to Hanging the Engine I found on Vans
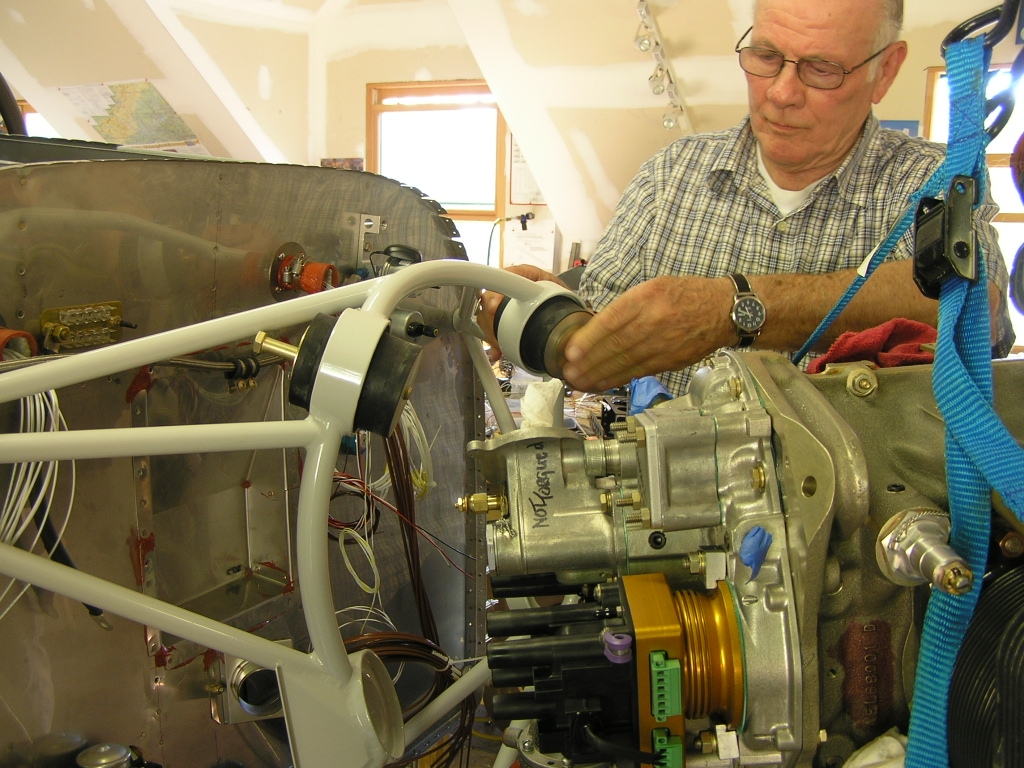
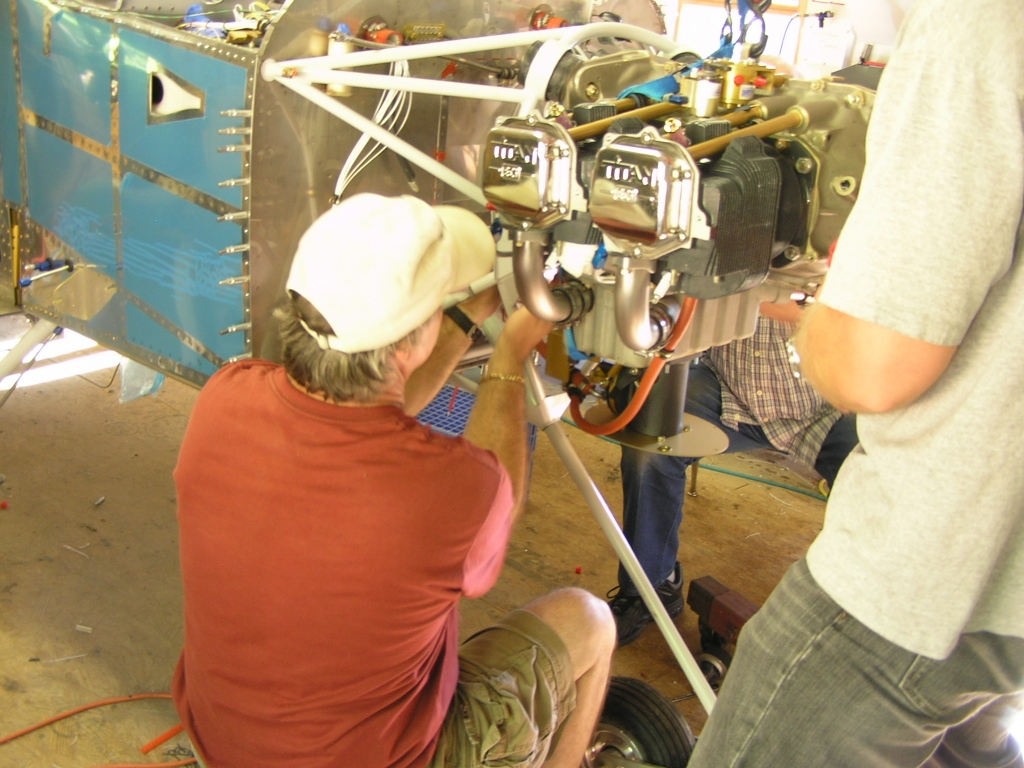
Airforce website. The top two bolts went in fairly easily but the bottom two
were more challenging. The Guide was a great help here
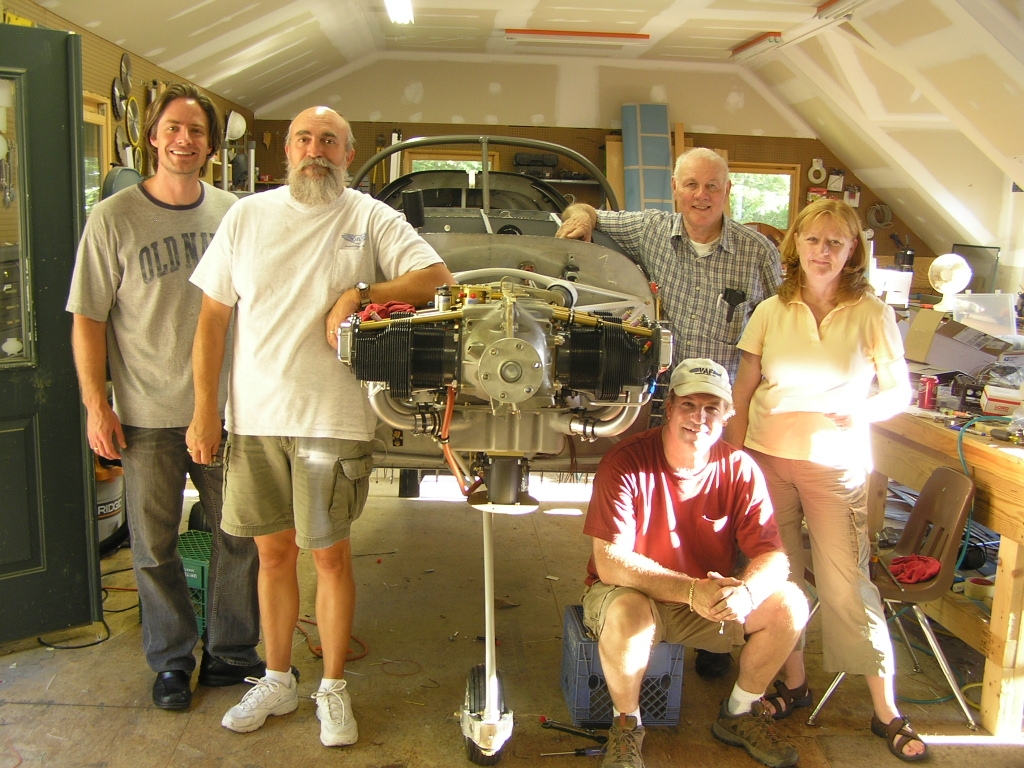
with suggestions to get the bolt holes lined up. Anyways, an hour and a half later we had it installed.
I really appreciate all the help. Time to eat! |
3.0 |
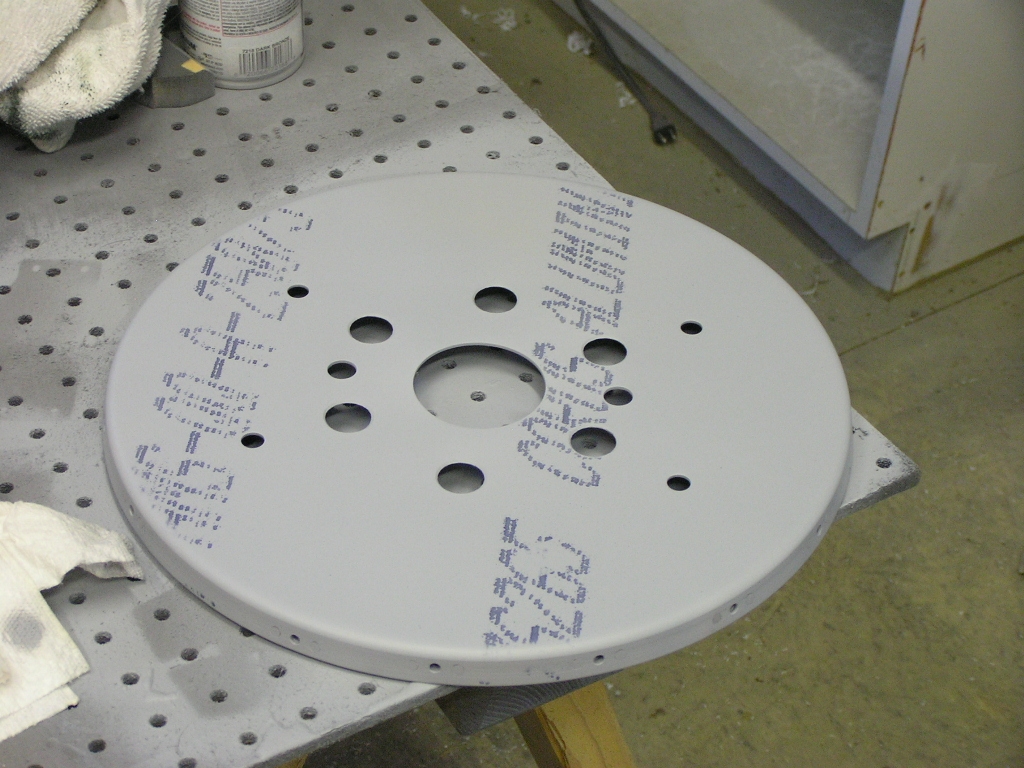
| 9/6/08 | This morning I had my Flight Review.
Vern Darley flew up from Peachtree
City in a -9A (N160PW) and I was able to finally fly the model
of plane I am building! Needless to say, an hour and a
half later I was elated with my choice of aircraft. Later, I
installed the correct number of washers on the engine mounts and
installed the cotter pins. I then installed the platenuts
on the front and rear spinner bulkheads and primed. |
2.0 |
| Pre-Oiling the
Engine |
||
| 1/11/09 | Today, Terry came
by to help me pre-oil the engine. After having sat since
we assembled it, I wanted to verify the oil pump works and push
some oil through the galleys to help inhibit corrosion. I
added two quarts of Aeroshell 100 SAE 50 straight mineral oil
and let it settle. I then marked the dip stick. I
added two more quarts and marked it again. I did the same
for six quarts. I bought an oil pressure gauge at
AutoZone and hooked it up at the
oil pressure sensor manifold. 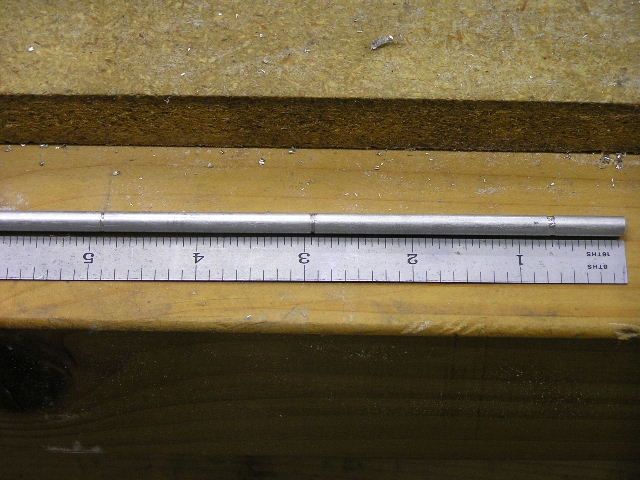 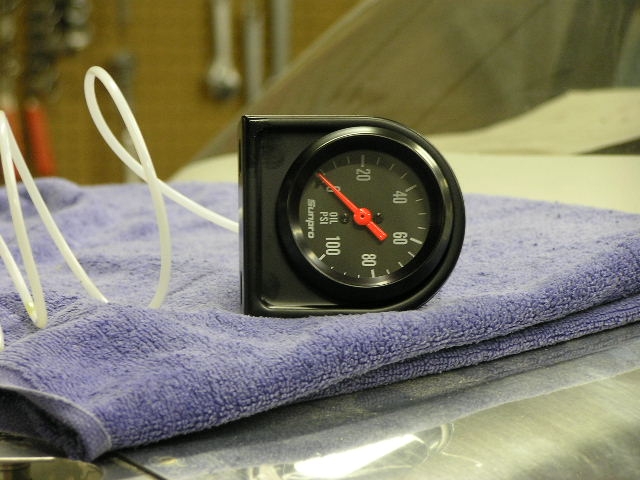
I hooked up the battery with jumper cables, removed the spark
plugs and hit the starter and let it whirl. After 10
seconds there was no pressure. I hit it again and the
pressure began to climb. After about 45 seconds the gauge
registered 40 psi. Good enough. The engine is
pre-oiled. |
3.0 |
| Continued in Firewall Forward | ||
|
Total Hours this Page |
||
|
Total Hours Engine (as of 9/10/07) |


Copyright ©2005-09
Hosted by NTI Networks